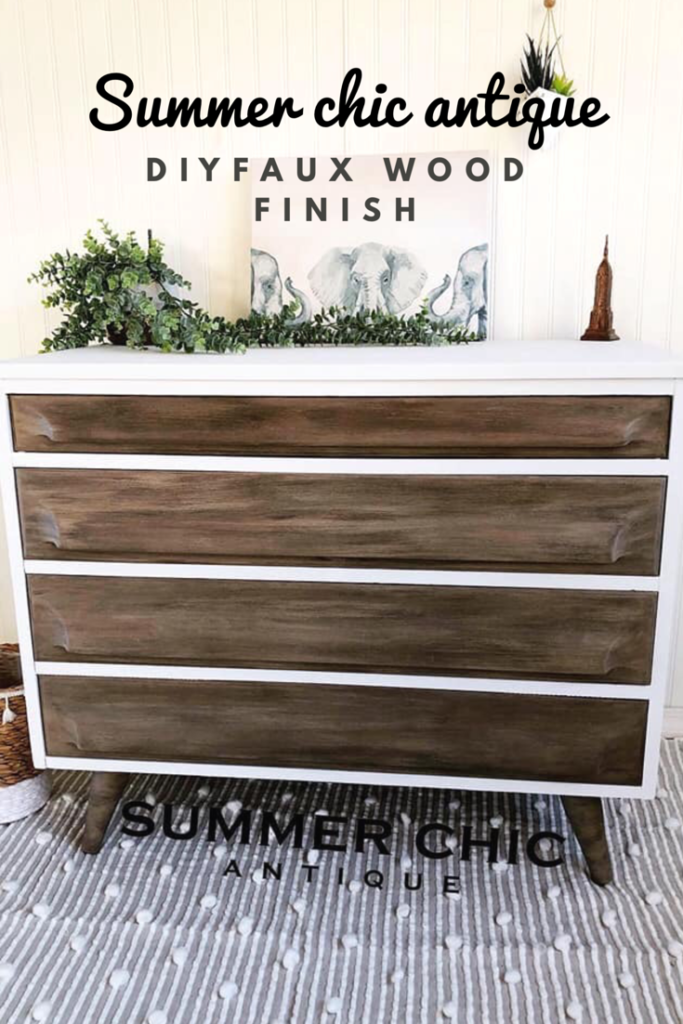
Faux Wood Finish
I can appreciate a good Mid Century Modern piece, they are trendy, interesting and have a huge fan base online! I was super excited to come across this Franklin Shockey Co. dresser and in such great condition! This style isn’t really something I typically go for, but I am so glad I did because it pushed me out of my comfort zone a bit.
Check out the before!
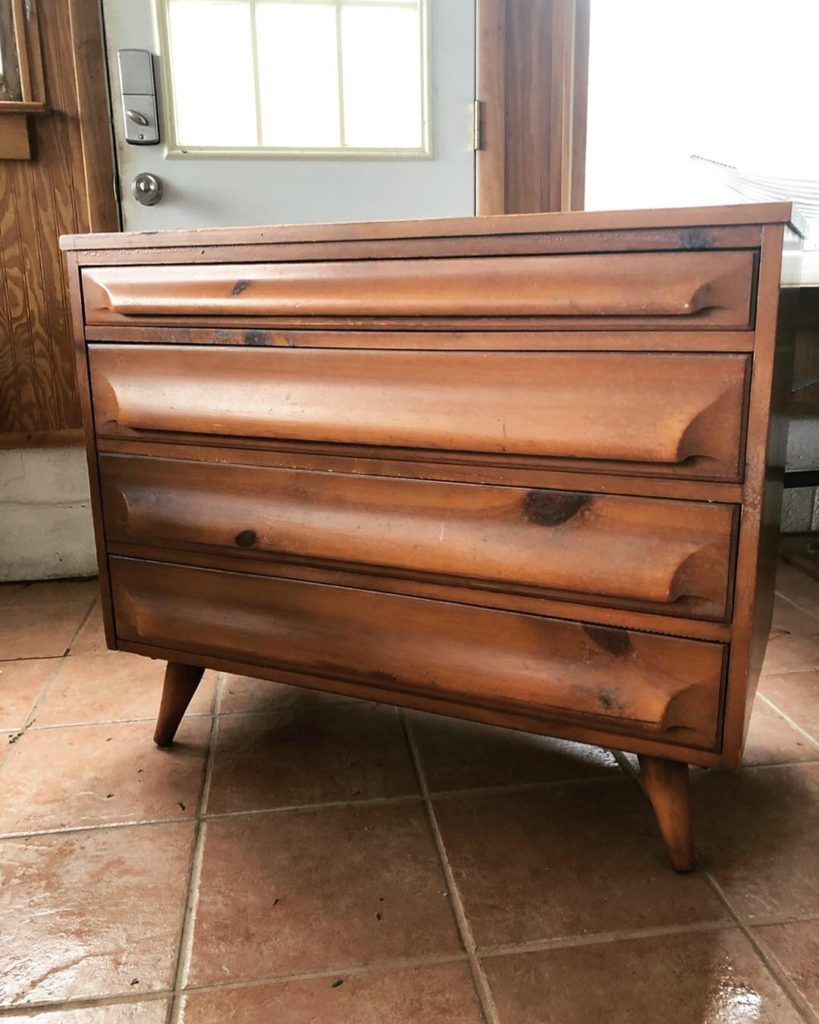
Great bones, am I right!? I can see this piece making such a cute TV stand or entry way table.
I knew I wanted a look that was traditional but stylish so I decided on a two tone look, painting the body white and leave the drawers accented as wood.
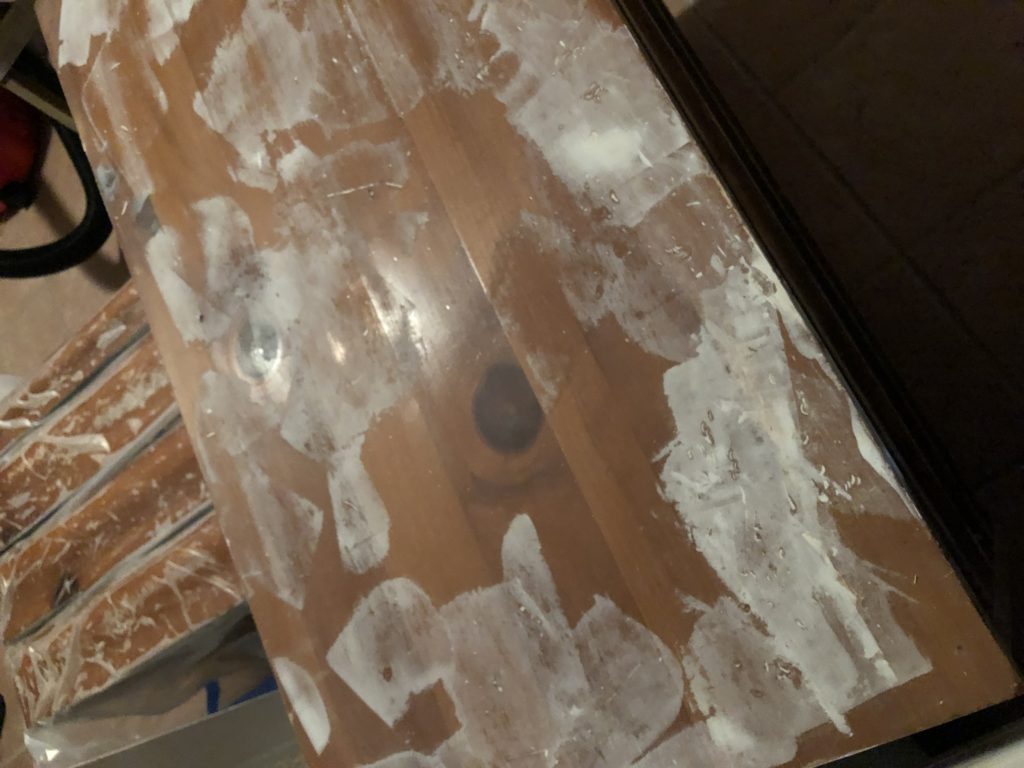
To start I lightly sanded the body with 220 grit sand paper. This dresser had a ton of gouges in the top so after I sanded, I used wood putty to fill the imperfections, let it dry and lightly sanded to achieve a smooth finish.
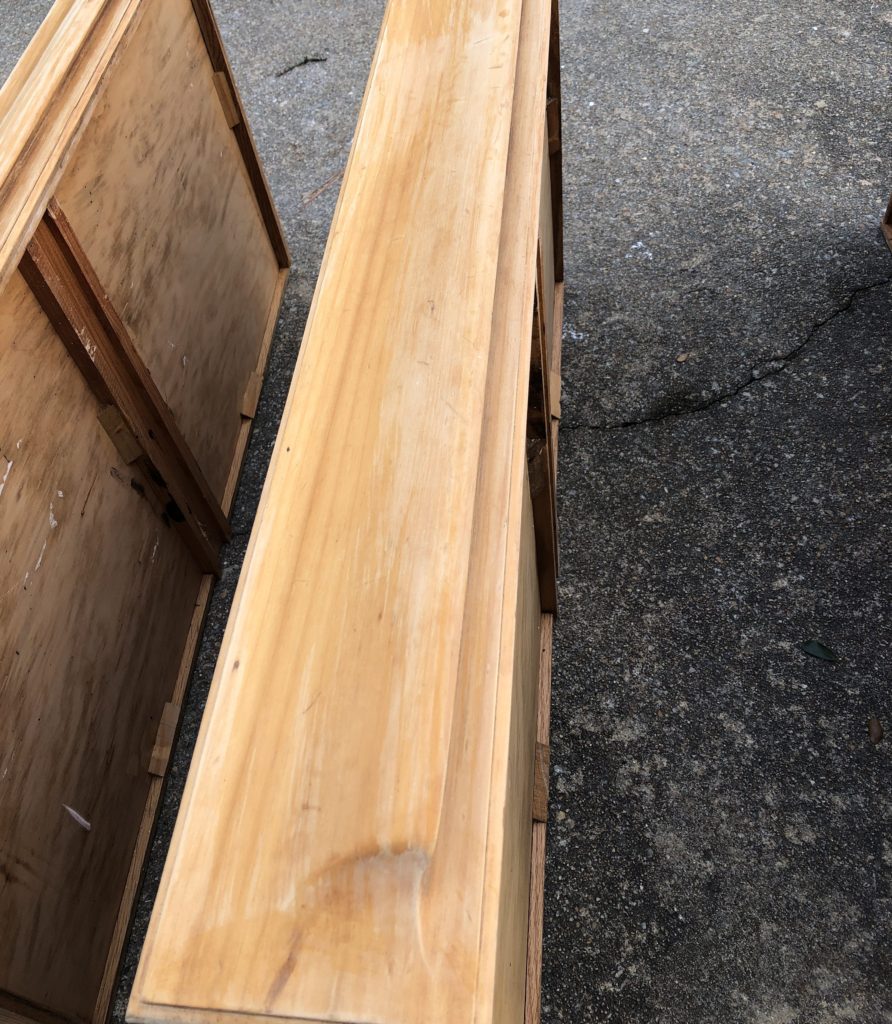
Originally, I was going to stain the drawers. I used Citristrip to remove the old stain, I prefer this product because it’s low odor and works great! Pro tip, apply the product and cover with painters plastic. This locks in the moisture, allowing the product remove the stain and stay moist enough to easily wipe off. Allowing the citristrip to dry makes it messier and more difficult to remove from the piece. Once the stripper has sat, use plastic putty knife to remove from the wood, if all the stain has lifted, use mineral spirits and steel wool to clean the surface off. Allow the wood to dry out for a couple days before staining/ painting.
And wala! There you have it!
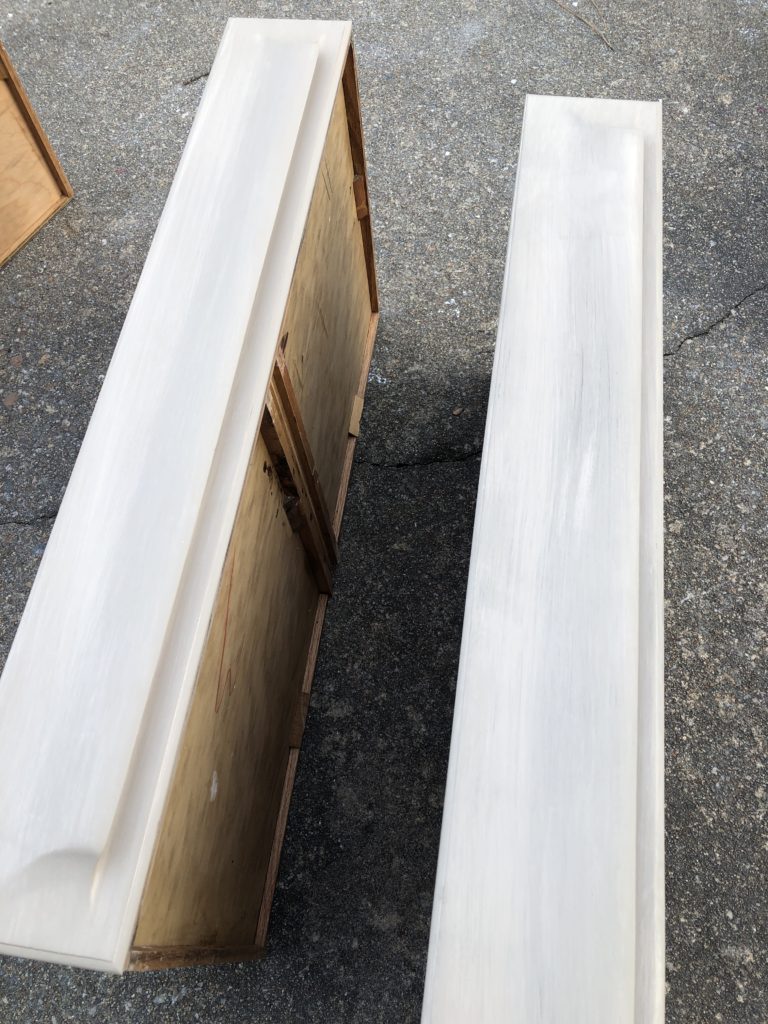
At the last minute, I decided to try something different, instead of staining, I went for a faux wood finish. To start, I painted the drawers with Dixie Belle paint in the color Putty. I applied one thick coat, and made sure to leave brush strokes. A little wood grain peeked through, and that’s perfectly ok for this look!
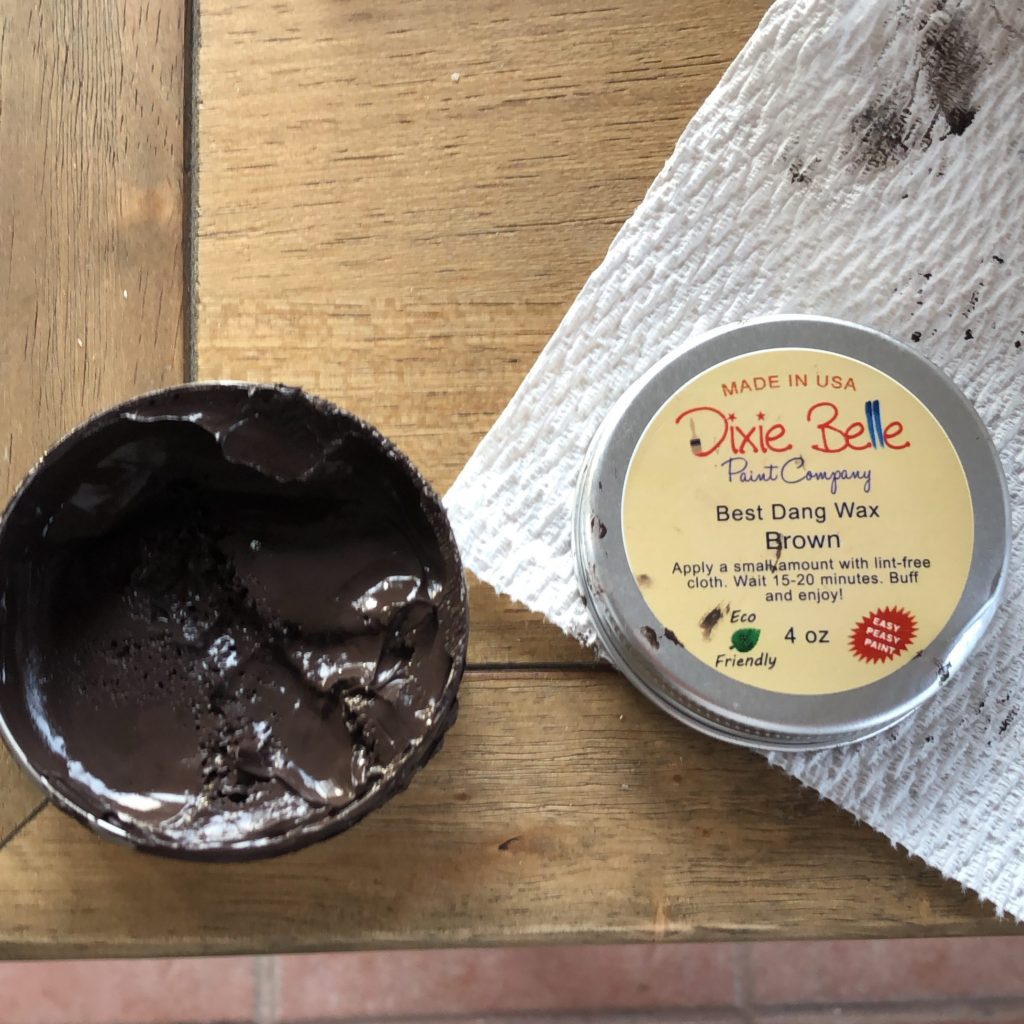
Once the paint dried to the touch, I applied a generous amount of Dixie Belle’s Best Dang Wax in the color brown with a chip brush. I applied it to the drawer from right to left, mimicking the wood grain. I was trying to achieve a wood look that was mostly brown so I applied this color the heaviest.
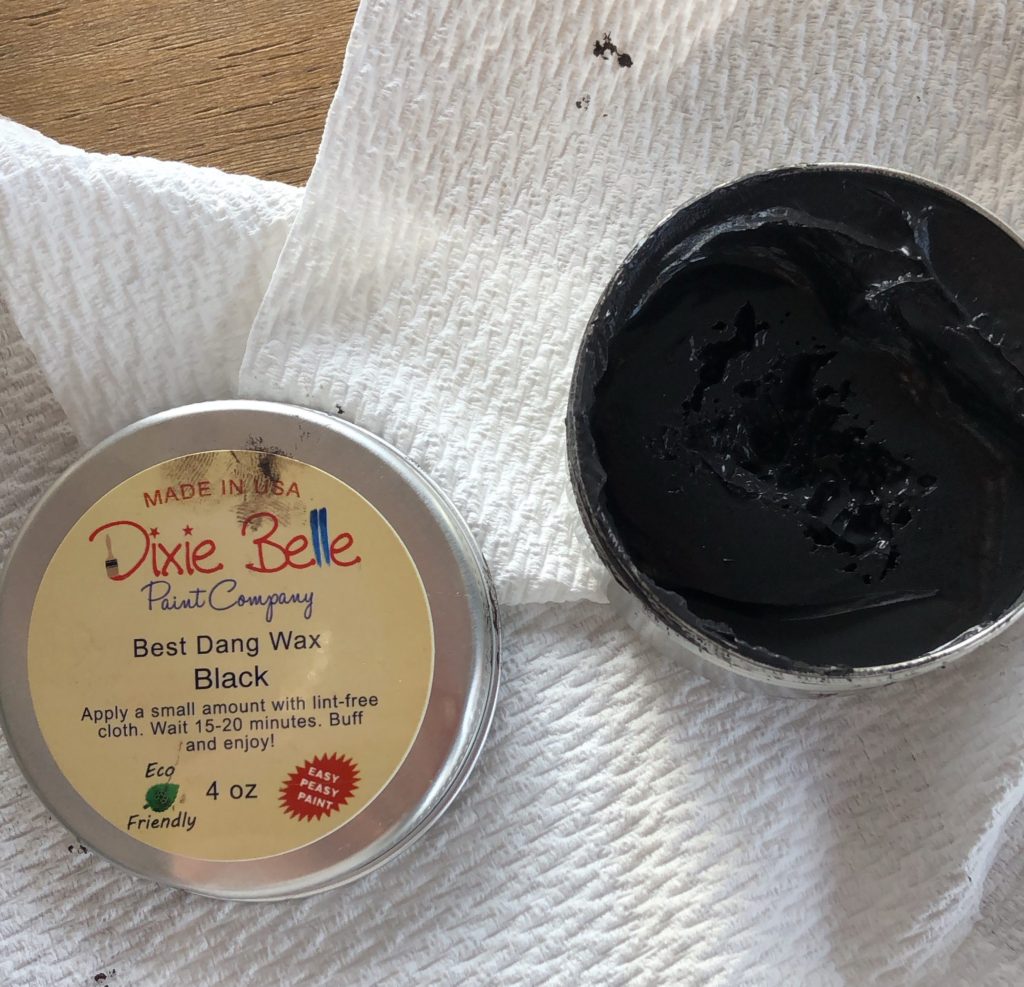
Next, I used The same wax, but in black as my accent color, filling narrow gaps the brown wax missed.
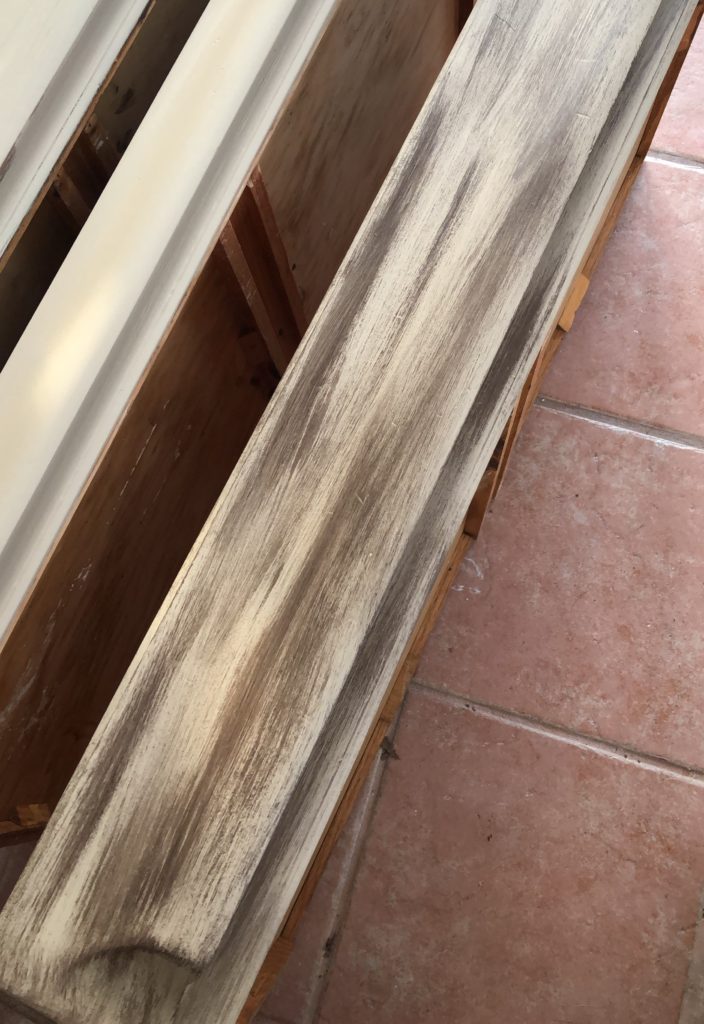
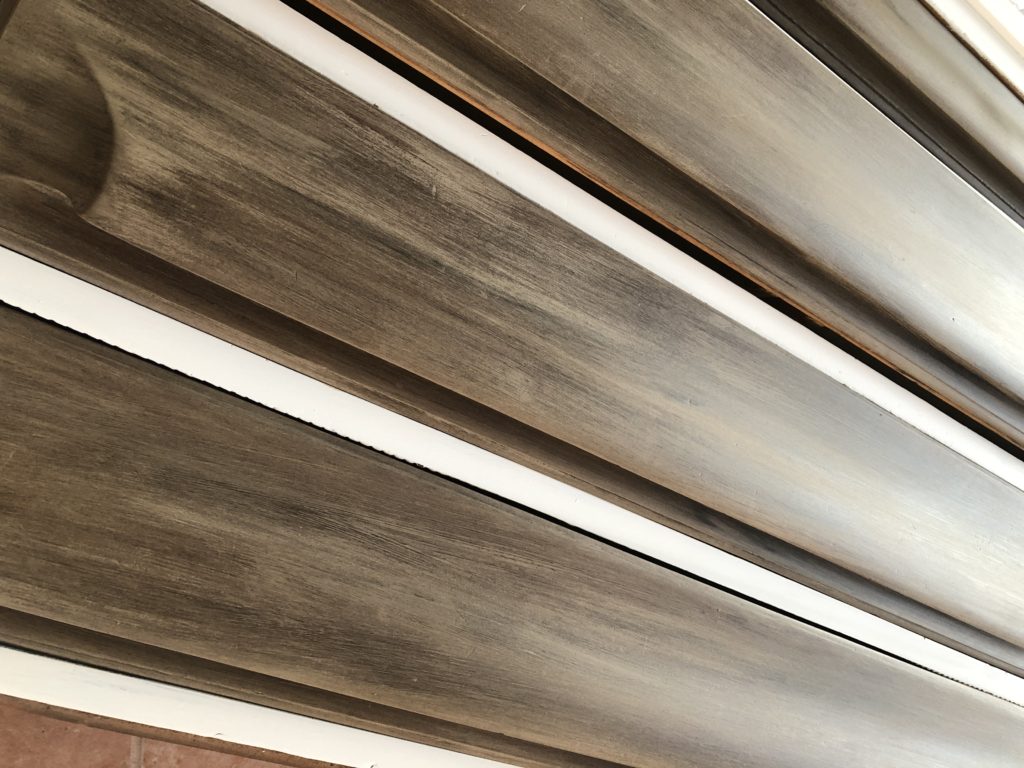
Once all of the wax was applied, I had a nice mixture of the three colors. Next, I took a clean cloth and gently wiped the from right to left. This removed excess wax, lightly buffed and blended the colors.
I wiped just until the colors smoothed out. Be careful to not over wipe/ buff the wax.

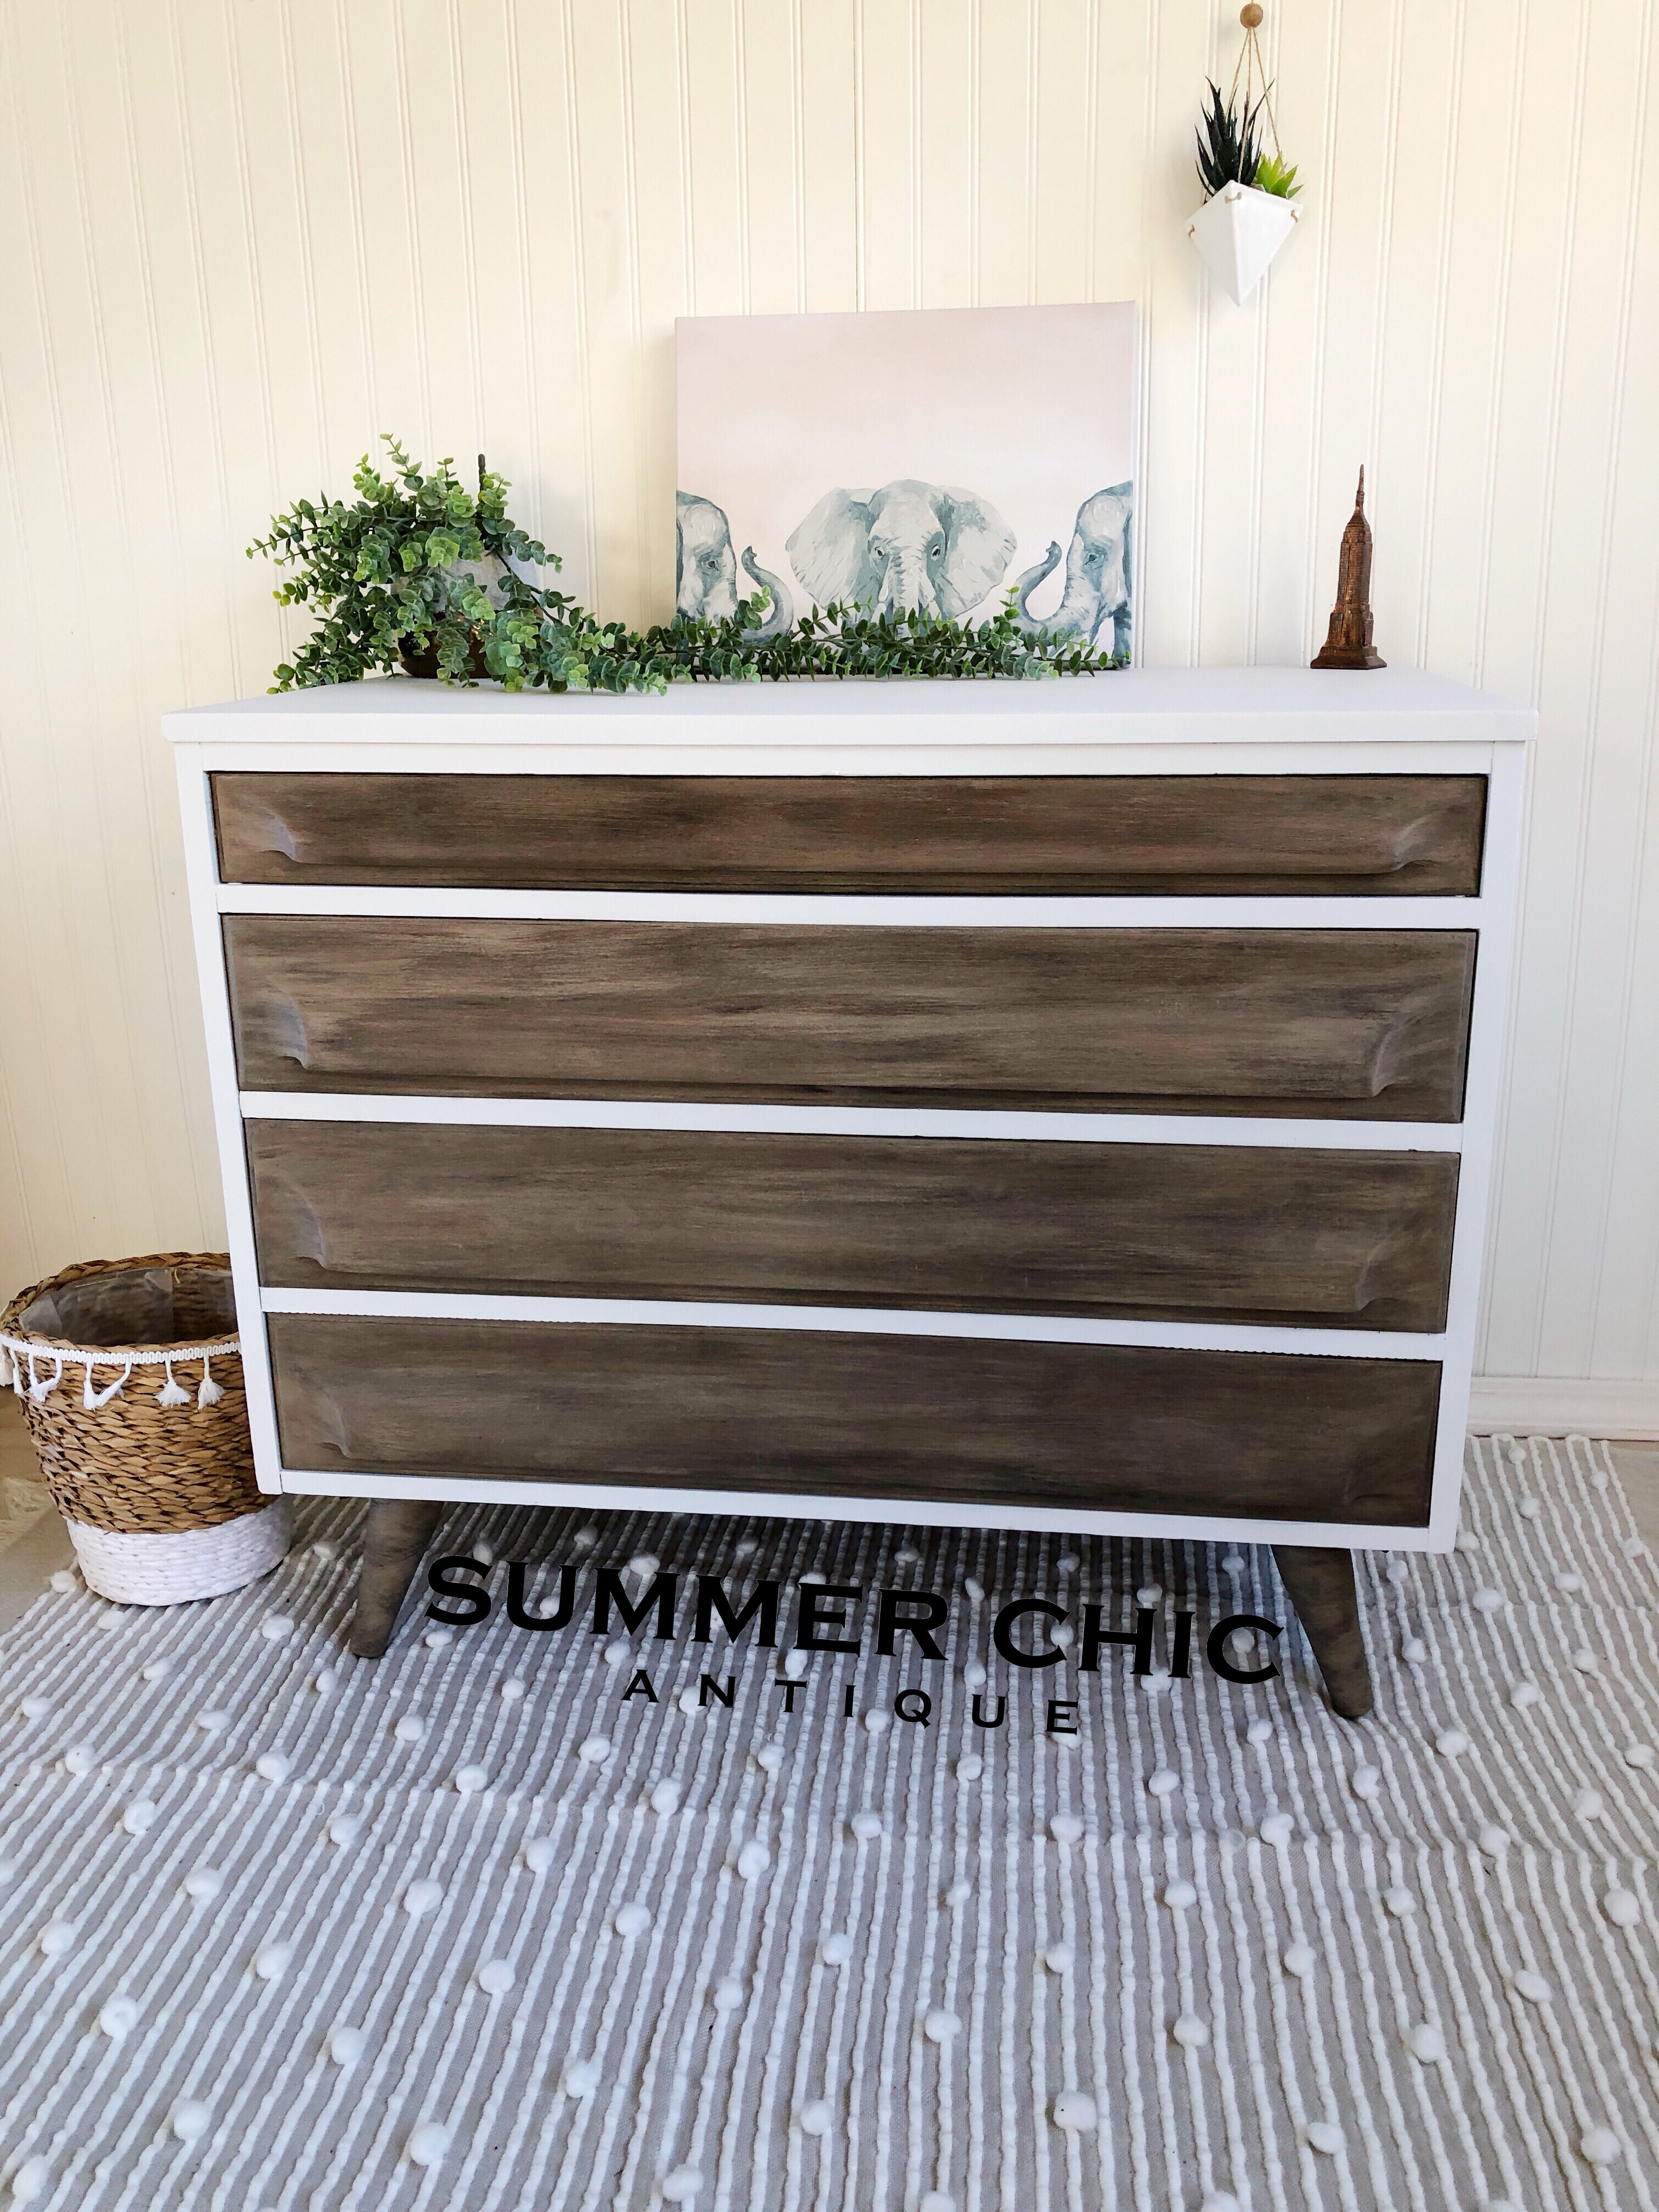
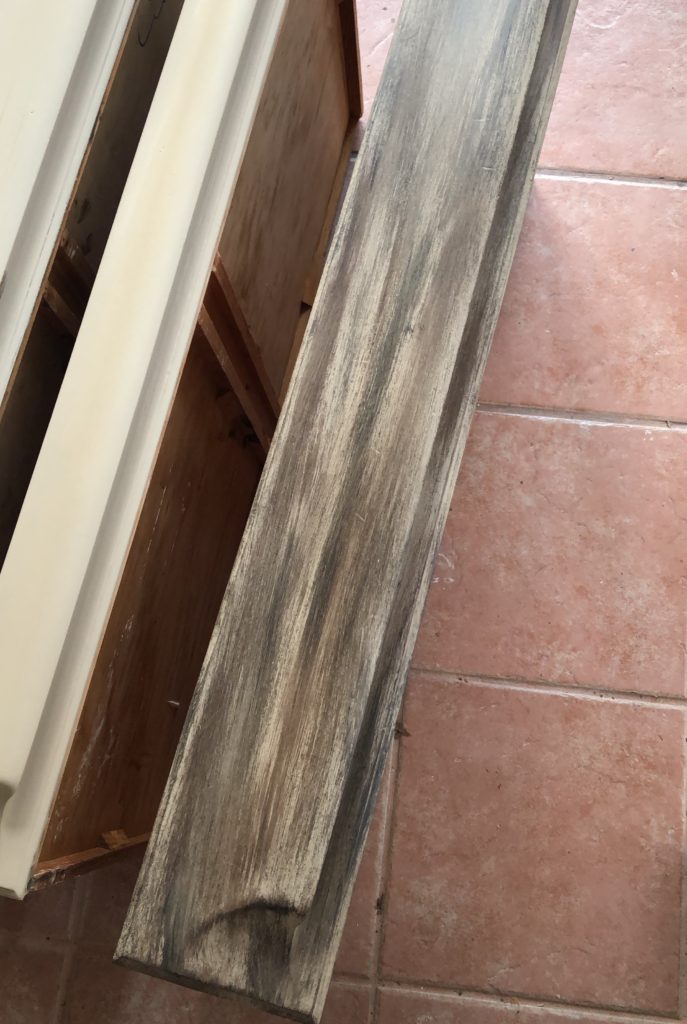
TA-DAA!! The finished look!
To finish this piece, I sprayed the wax down with clear enamel. The wax holds up best when you let it cure for at least a week and use the spray enamel to seal it. If you do not seal the wax, it is easy to wipe it off in the future, especially if it gets wet.
And here it the final look!
Let me know in the comments if you tried this and how it worked out!