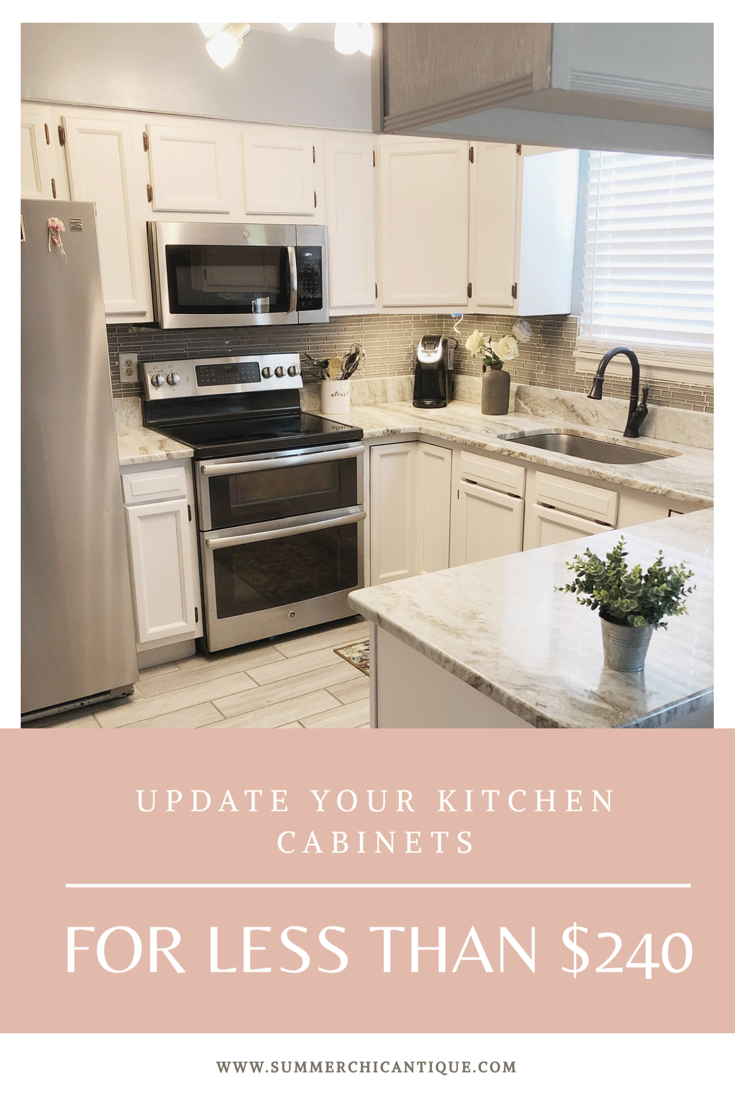
Kitchen update on a budget
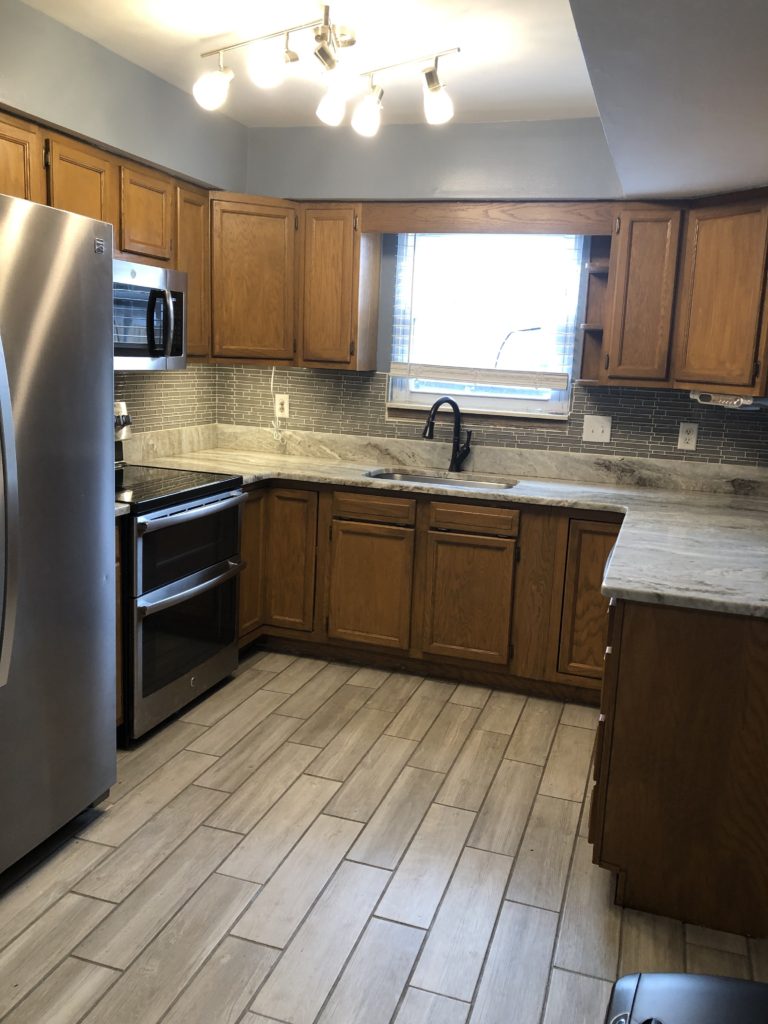
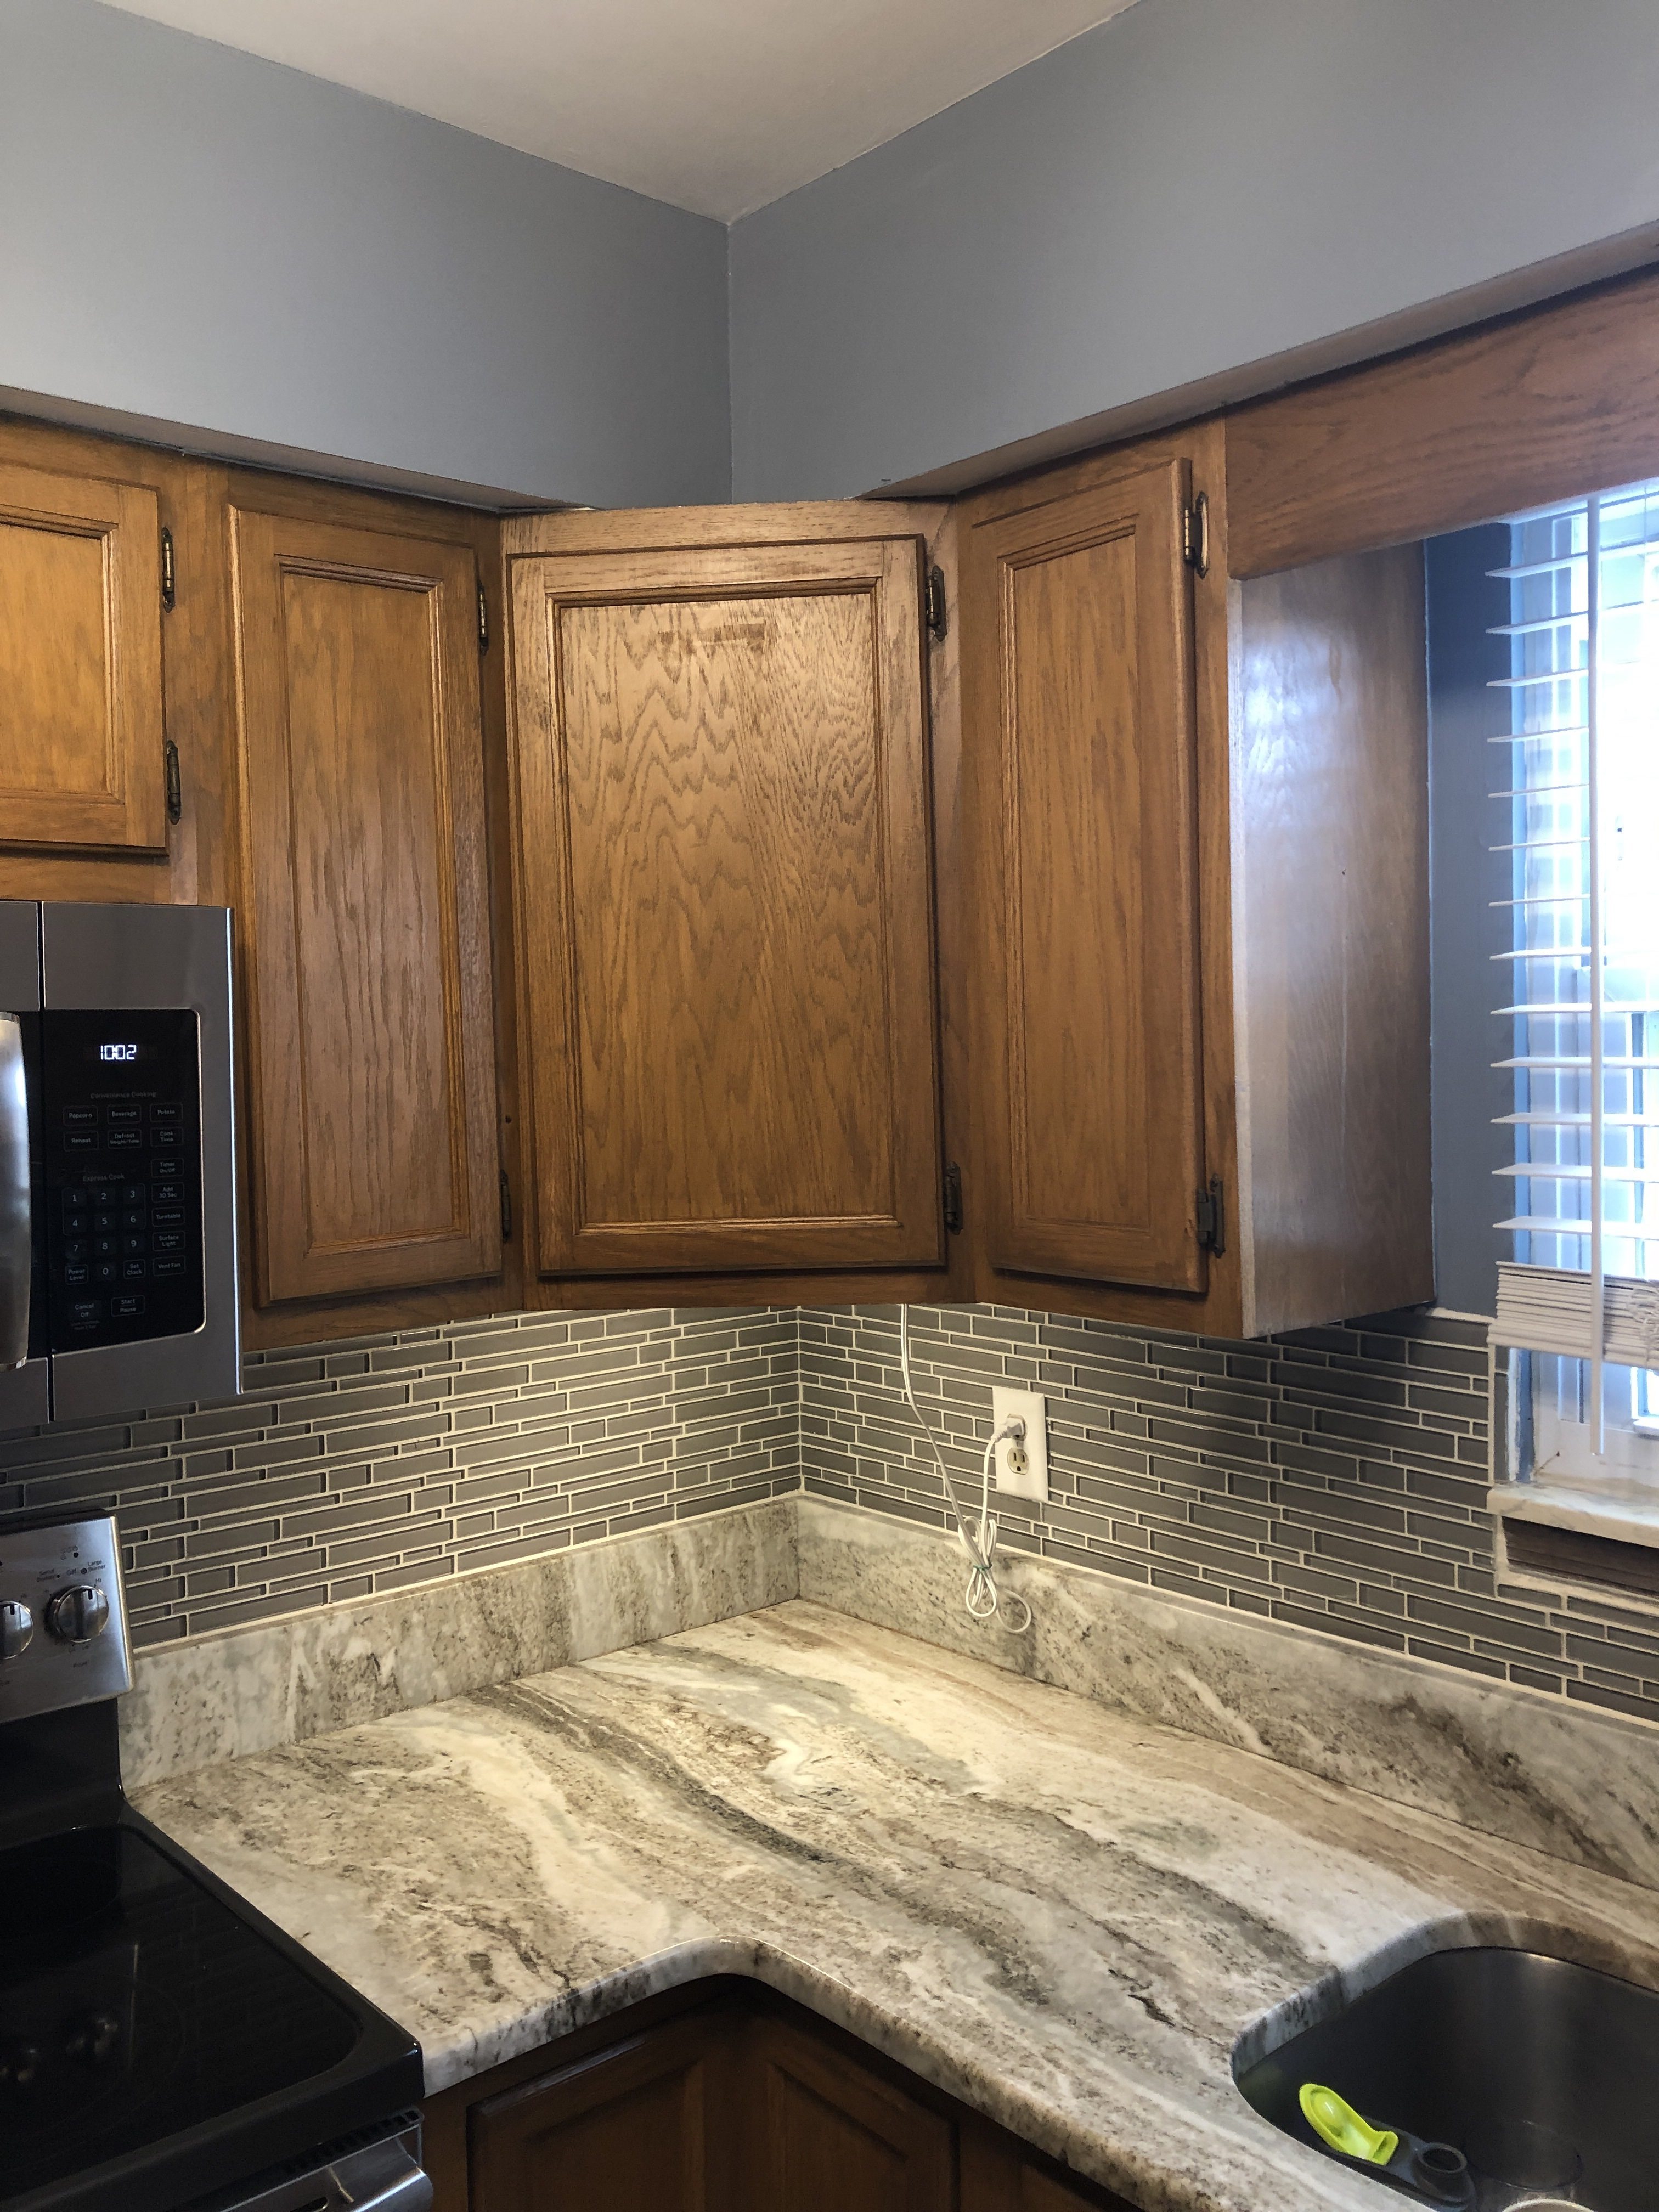
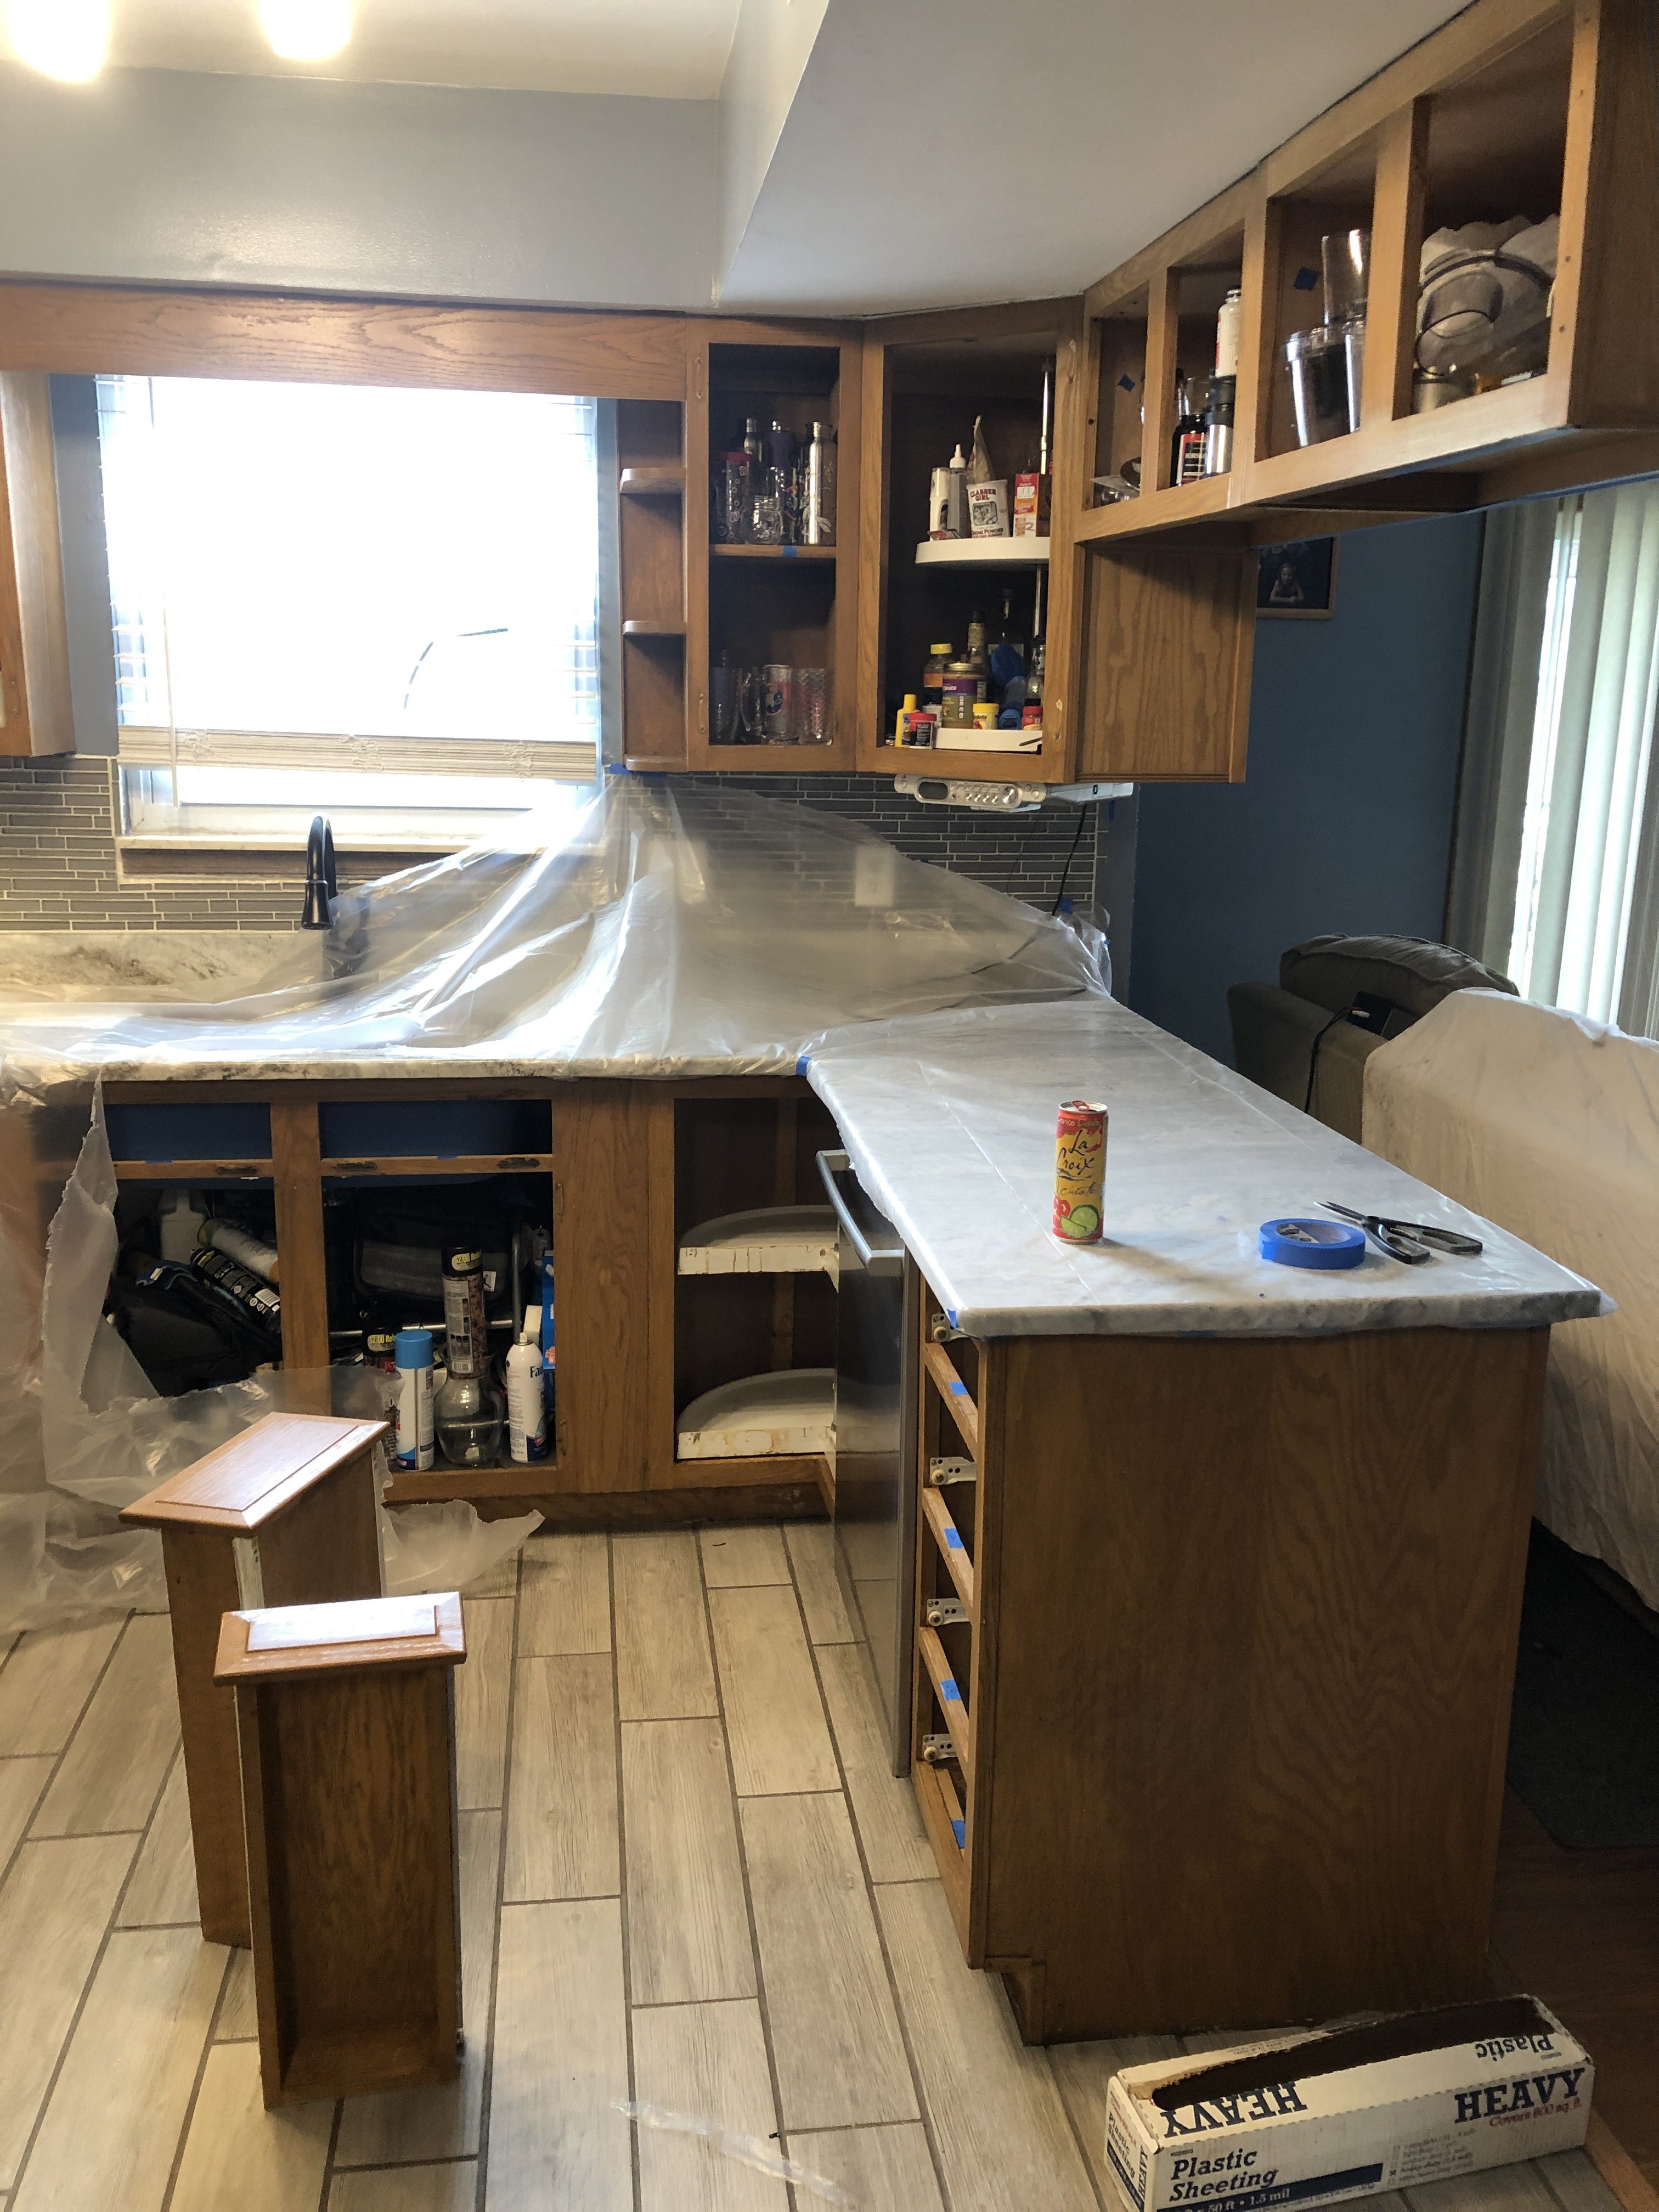
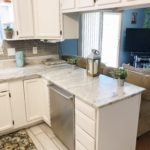
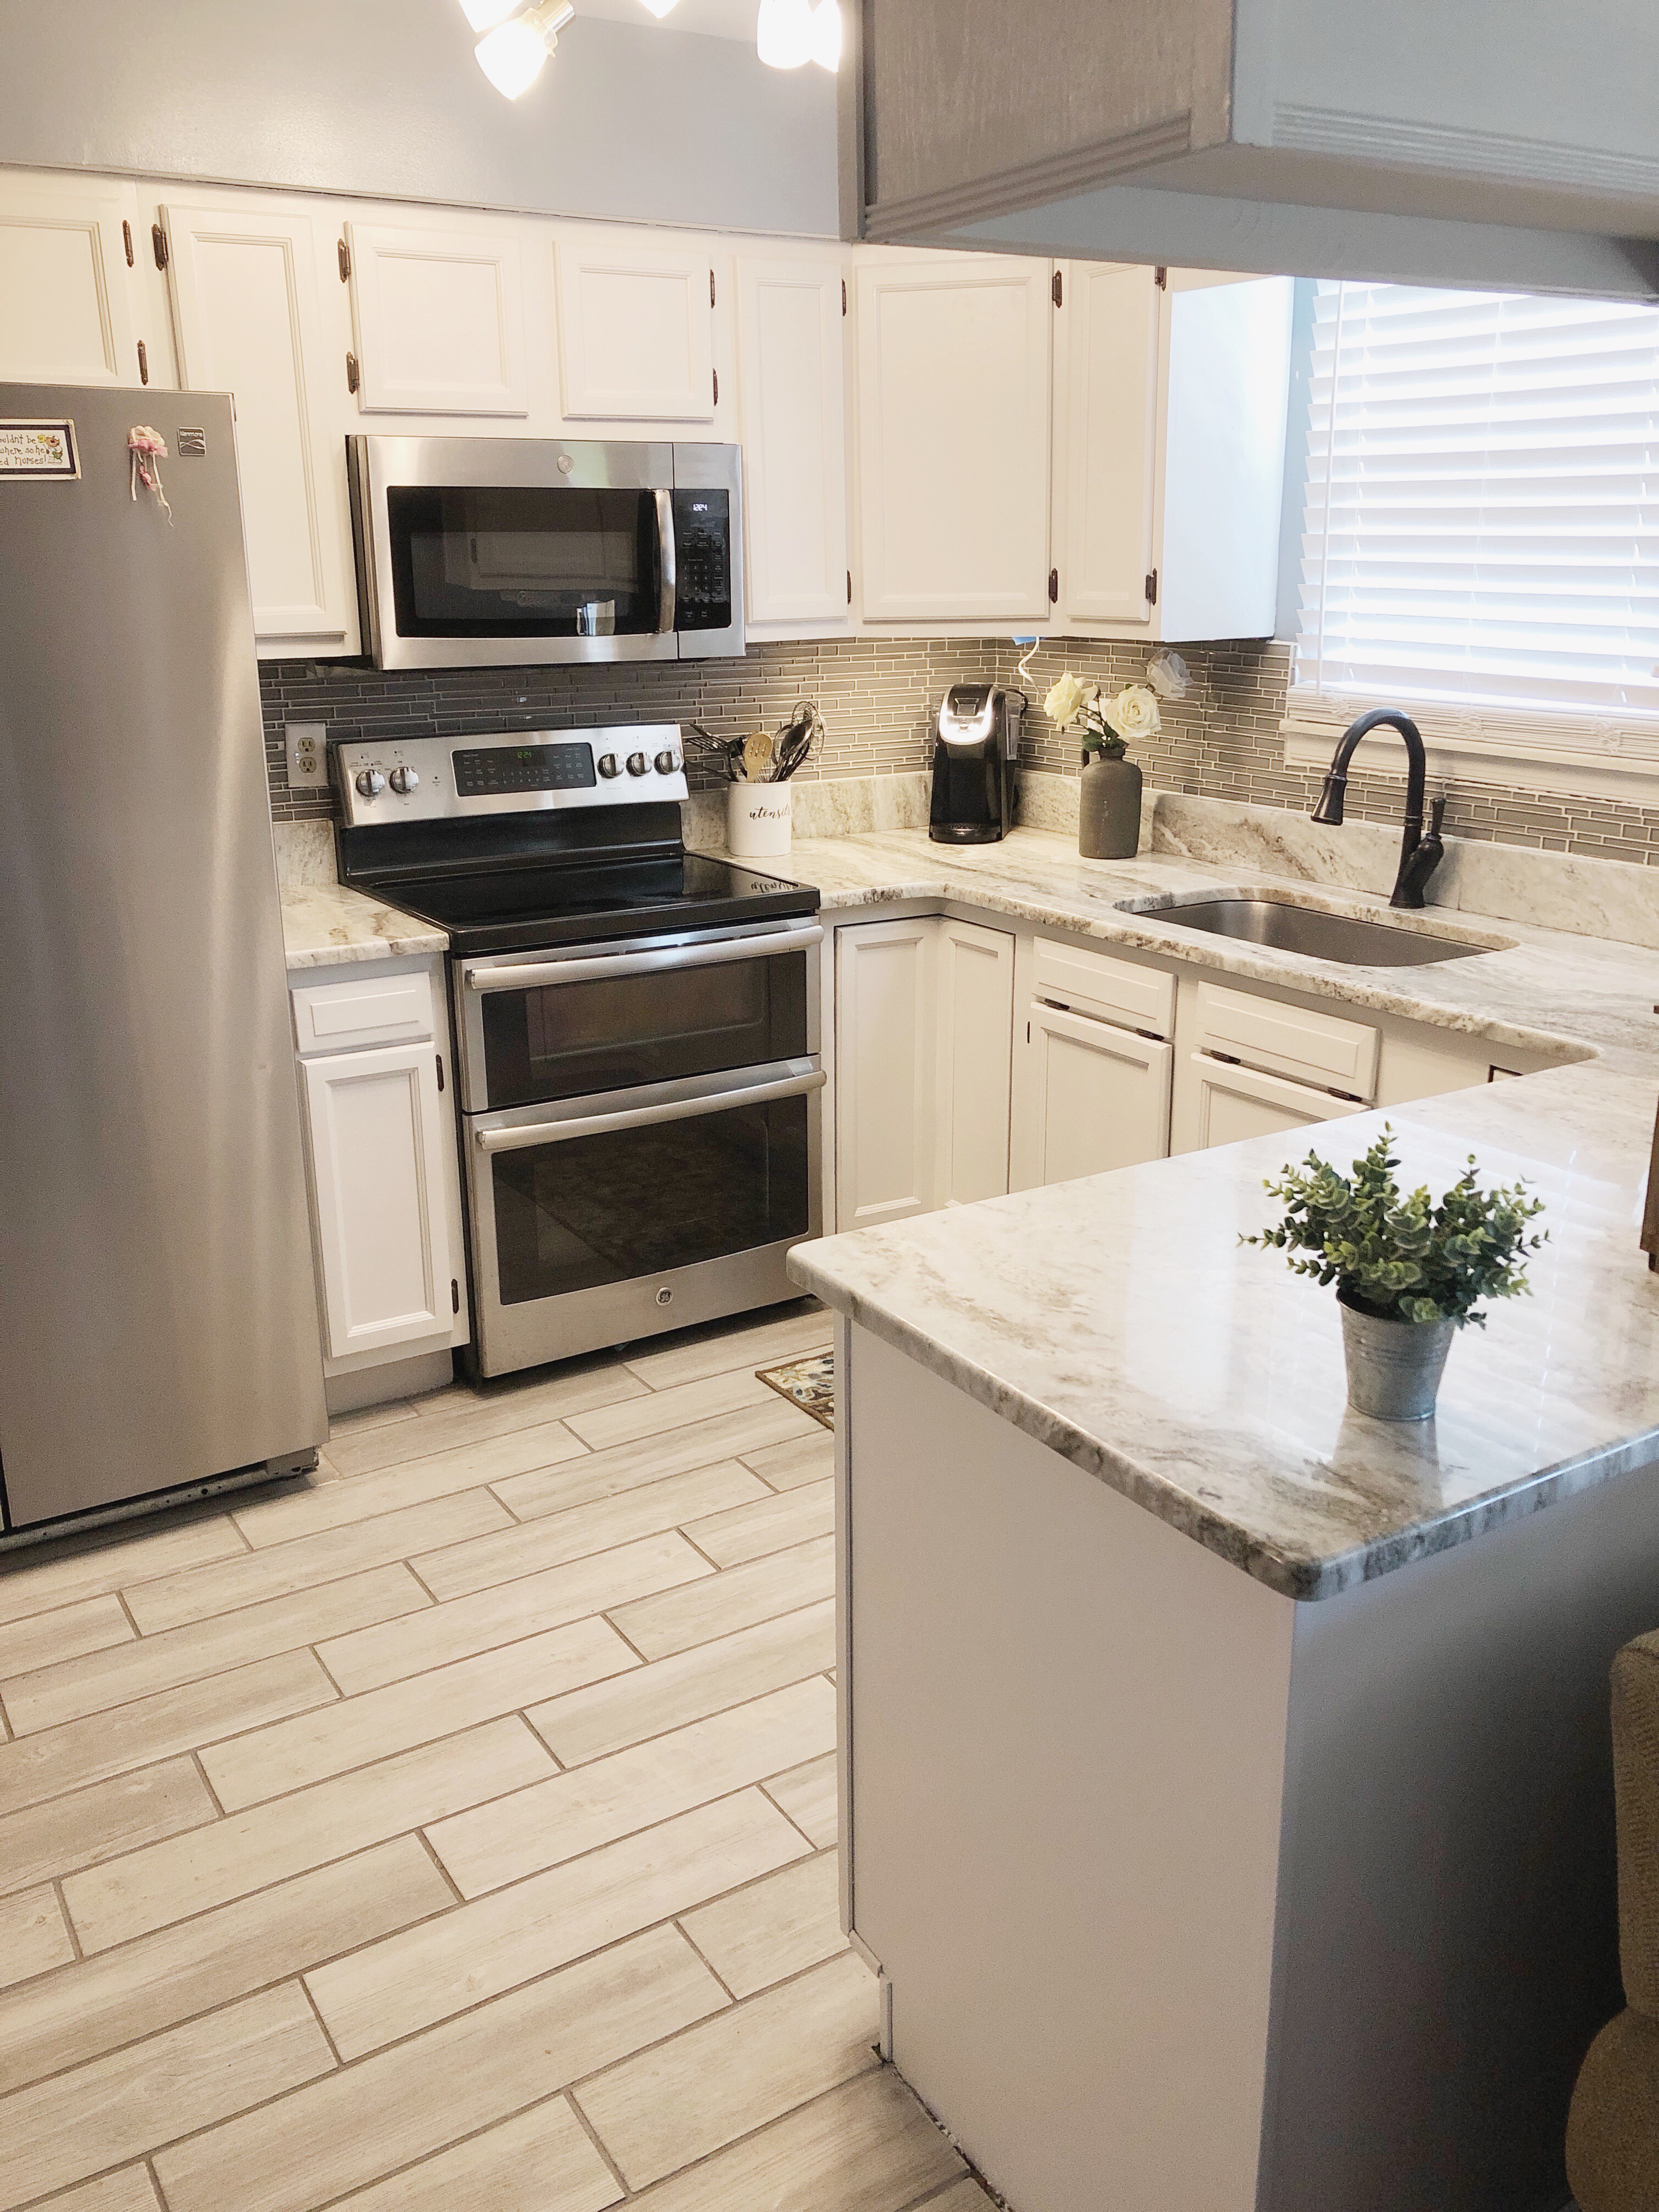
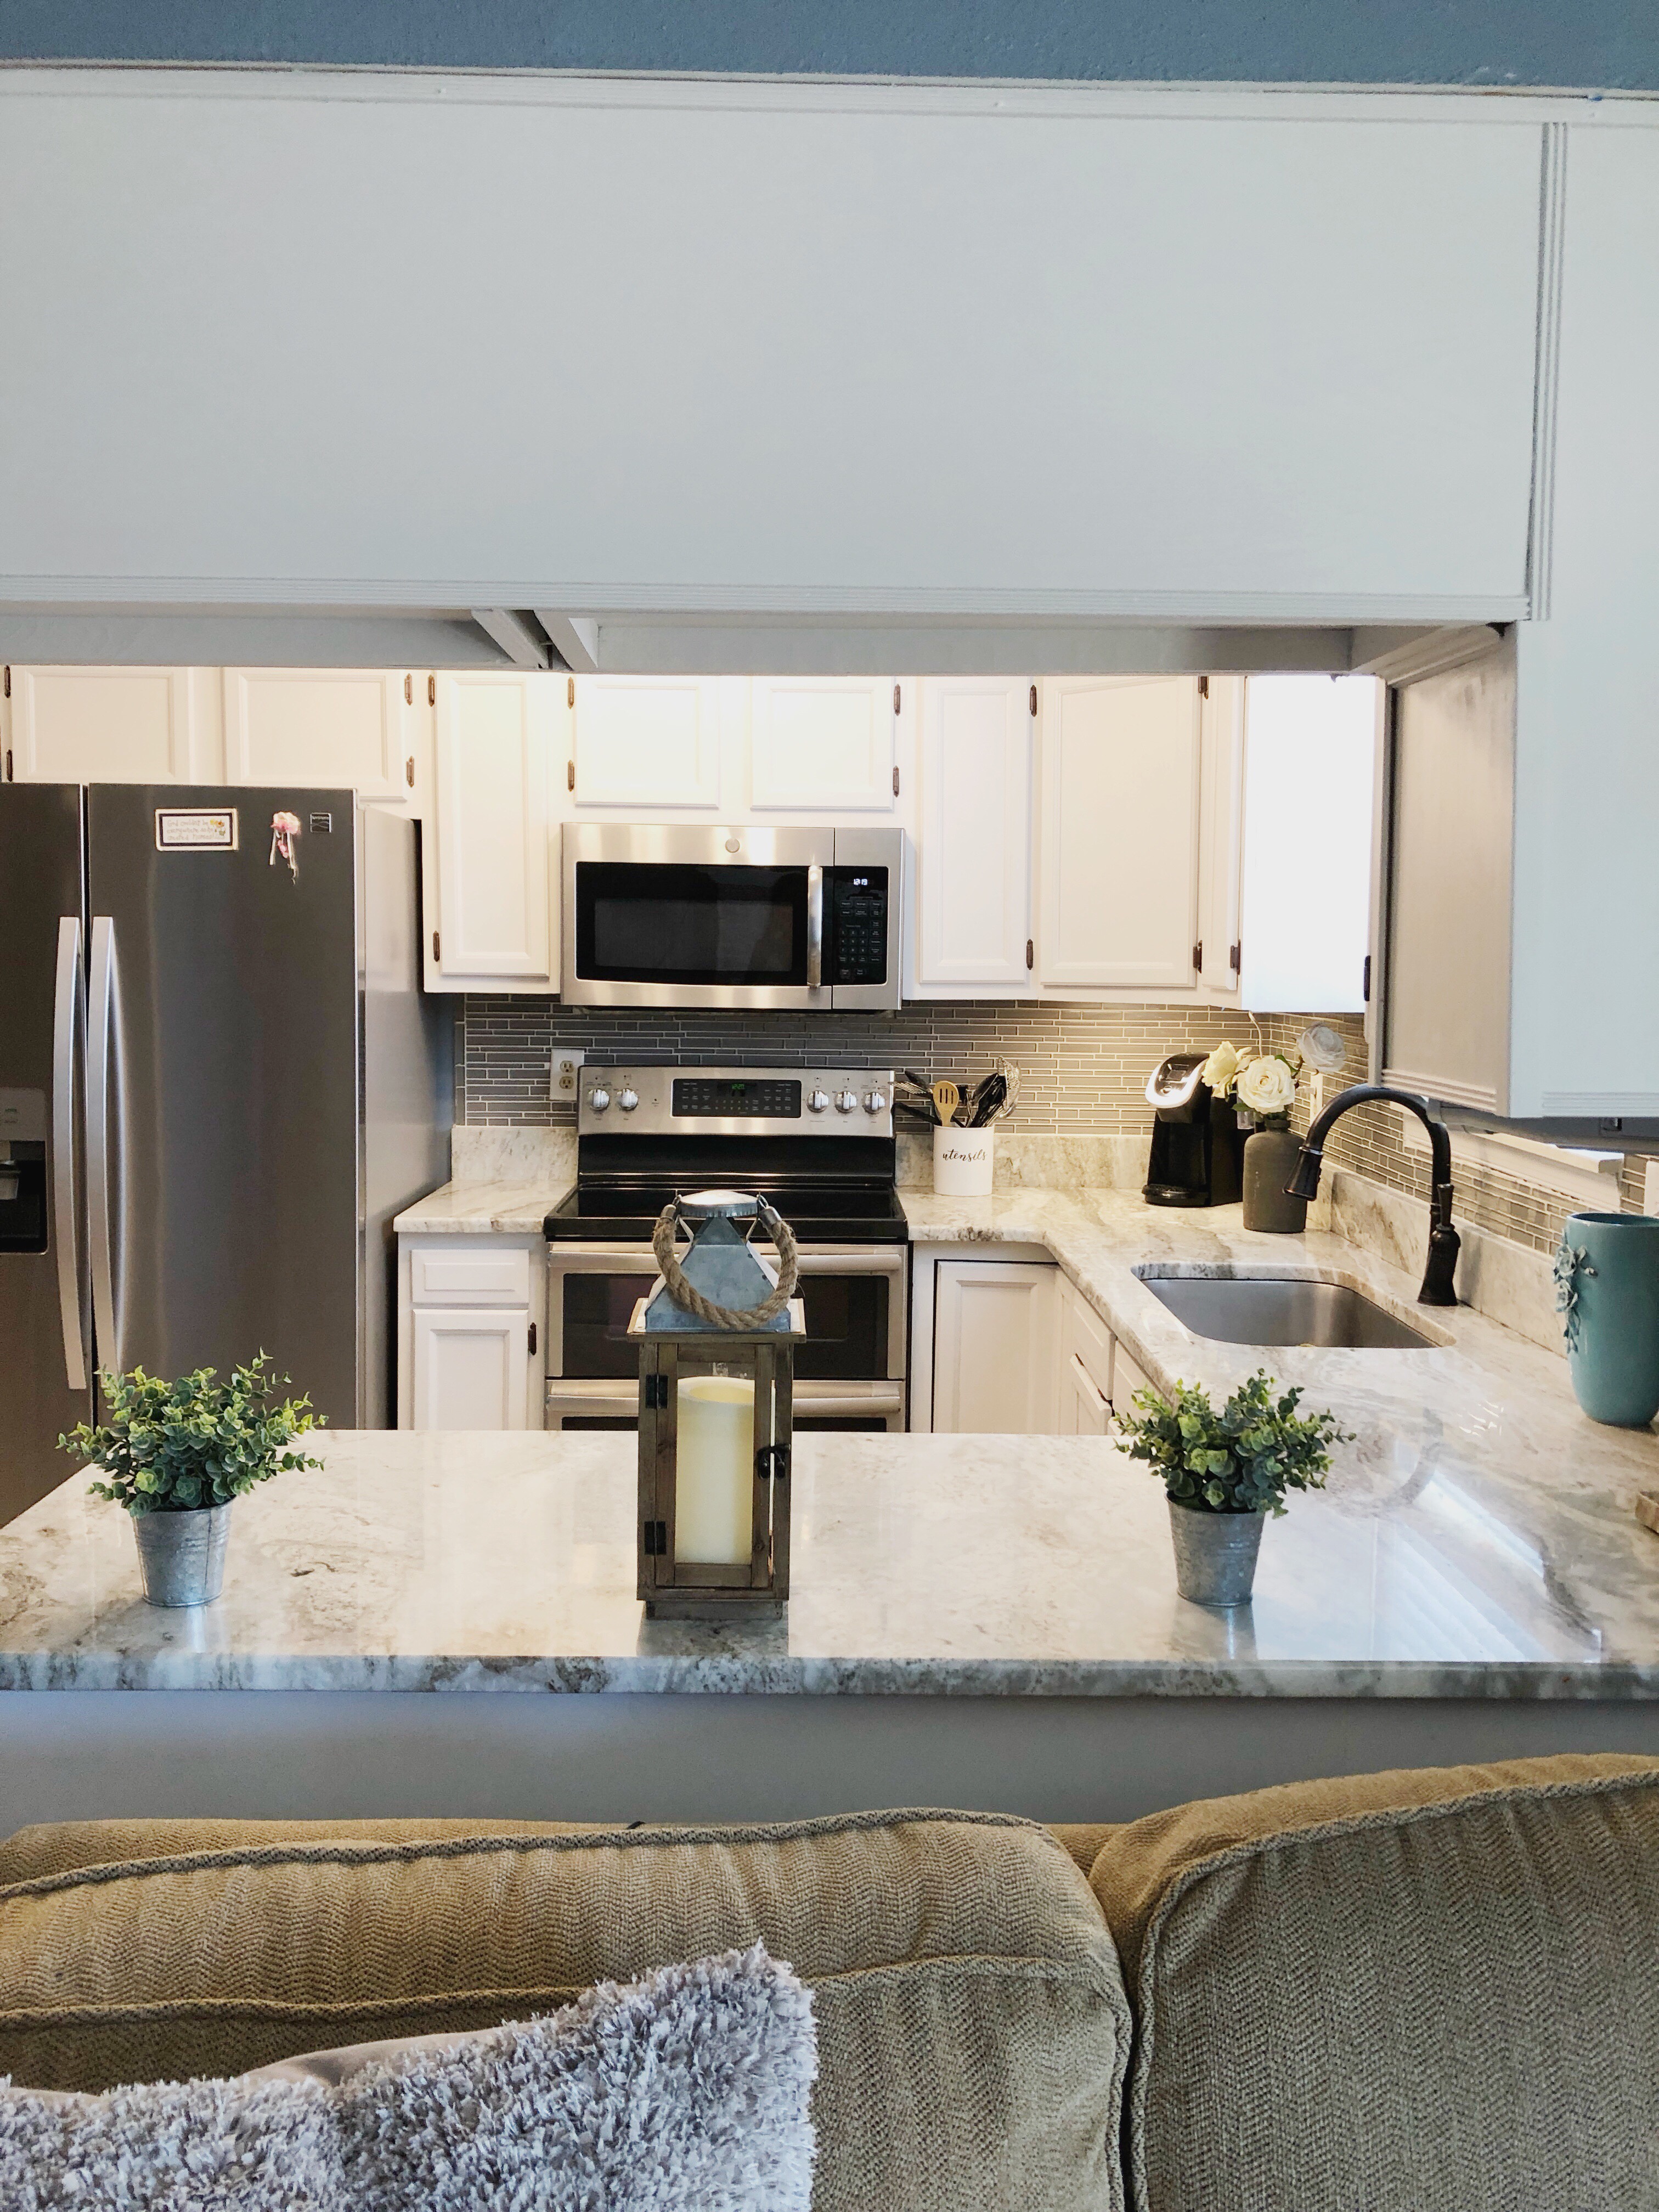
If you look closely, this kitchen is actually pretty up to date! There is beautiful granite, tile black splash, stainless steel appliances and trendy, ceramic wood looking tile. The outdated 1980’s oak cabinets completely take away from all of the beautiful updates! To really make this kitchen stand out, we needed to give the cabinets a beautiful contrasting color to really bring it all together.
To start, I cleaned the cabinets with TSP, this cleaned the years of grime and grease that had naturally built up. Next, I applied a de glosser, which removes and dulls the finish, allows the paint to adhere without needing to sand (Note, I did lightly sand any areas that were raised/ needed to be smoothed down – ie. Wood grain or dried drips of previous stain).
Here are all the supplies I needed for this project : 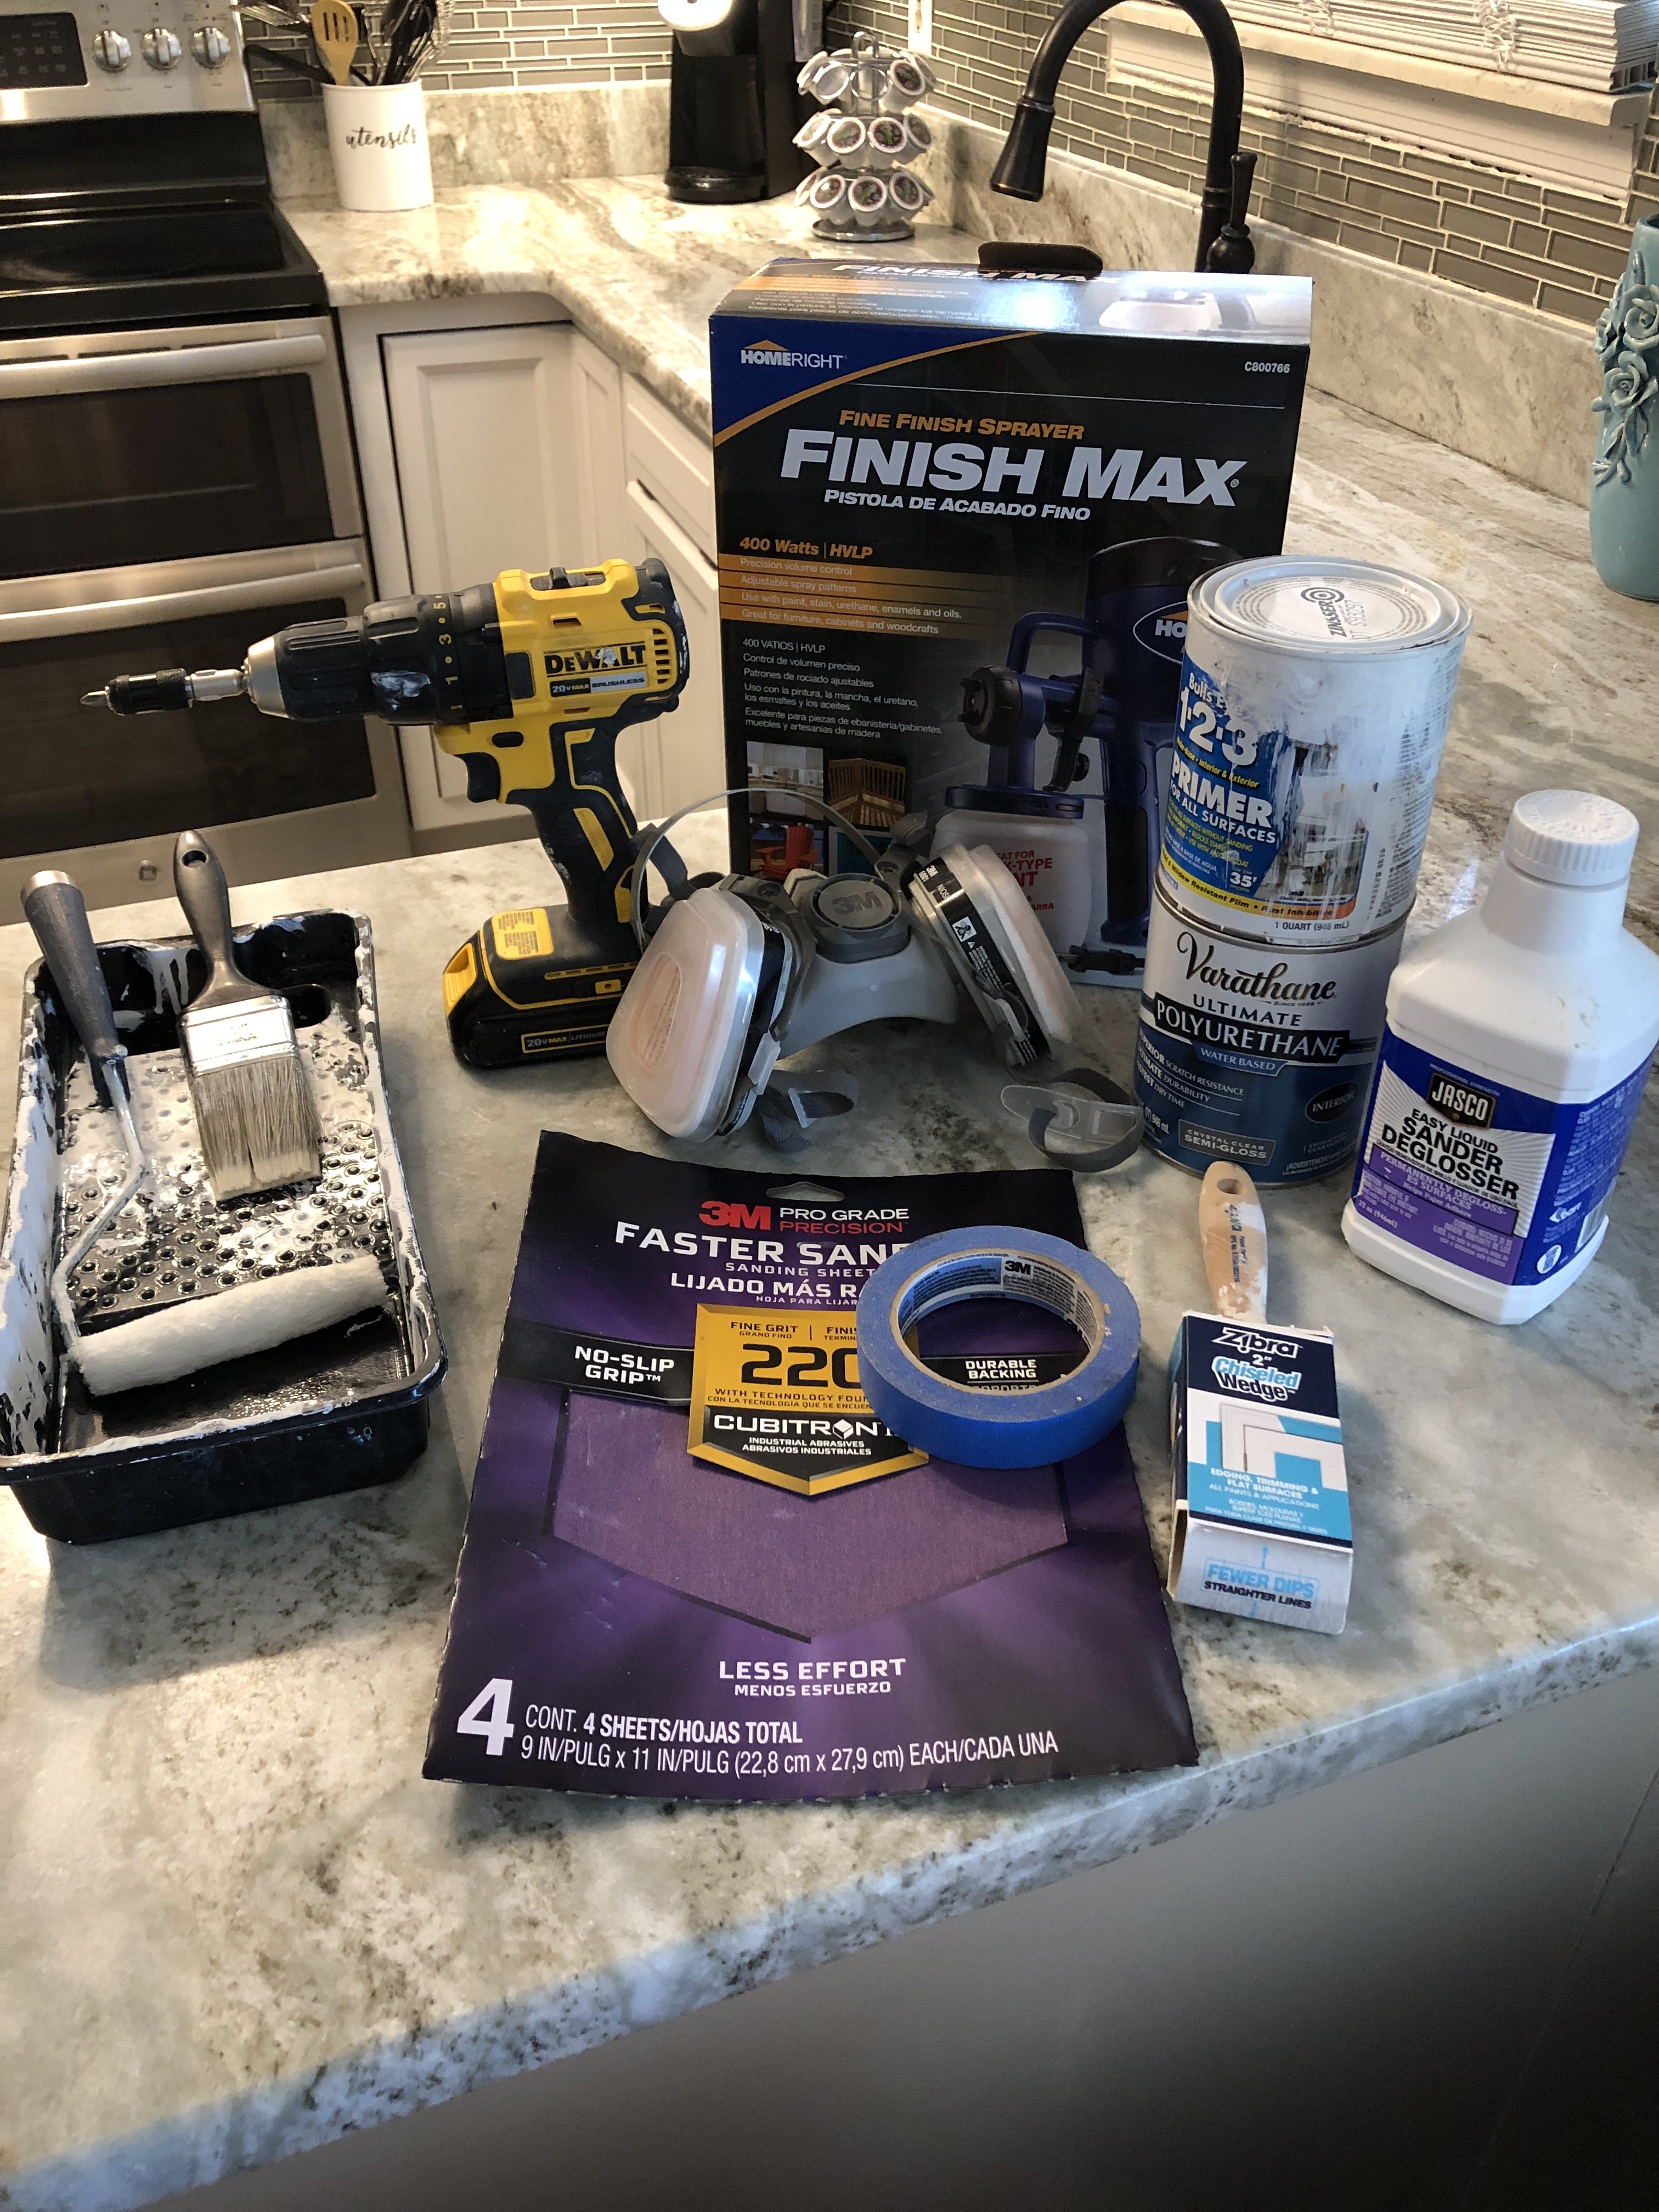
HomeRight Finish Max- Spray gun
Varathane Ultimate Polyurethane – crystal clear in satin
Dixie Belle – Fluff (I needed 3 for this project)
Rust-Oleum Metallic Burnished Amber
De Glosser I used Jasco sold at Lowe’s, here is one comparable.
Cheap brush or another Zibra brush.
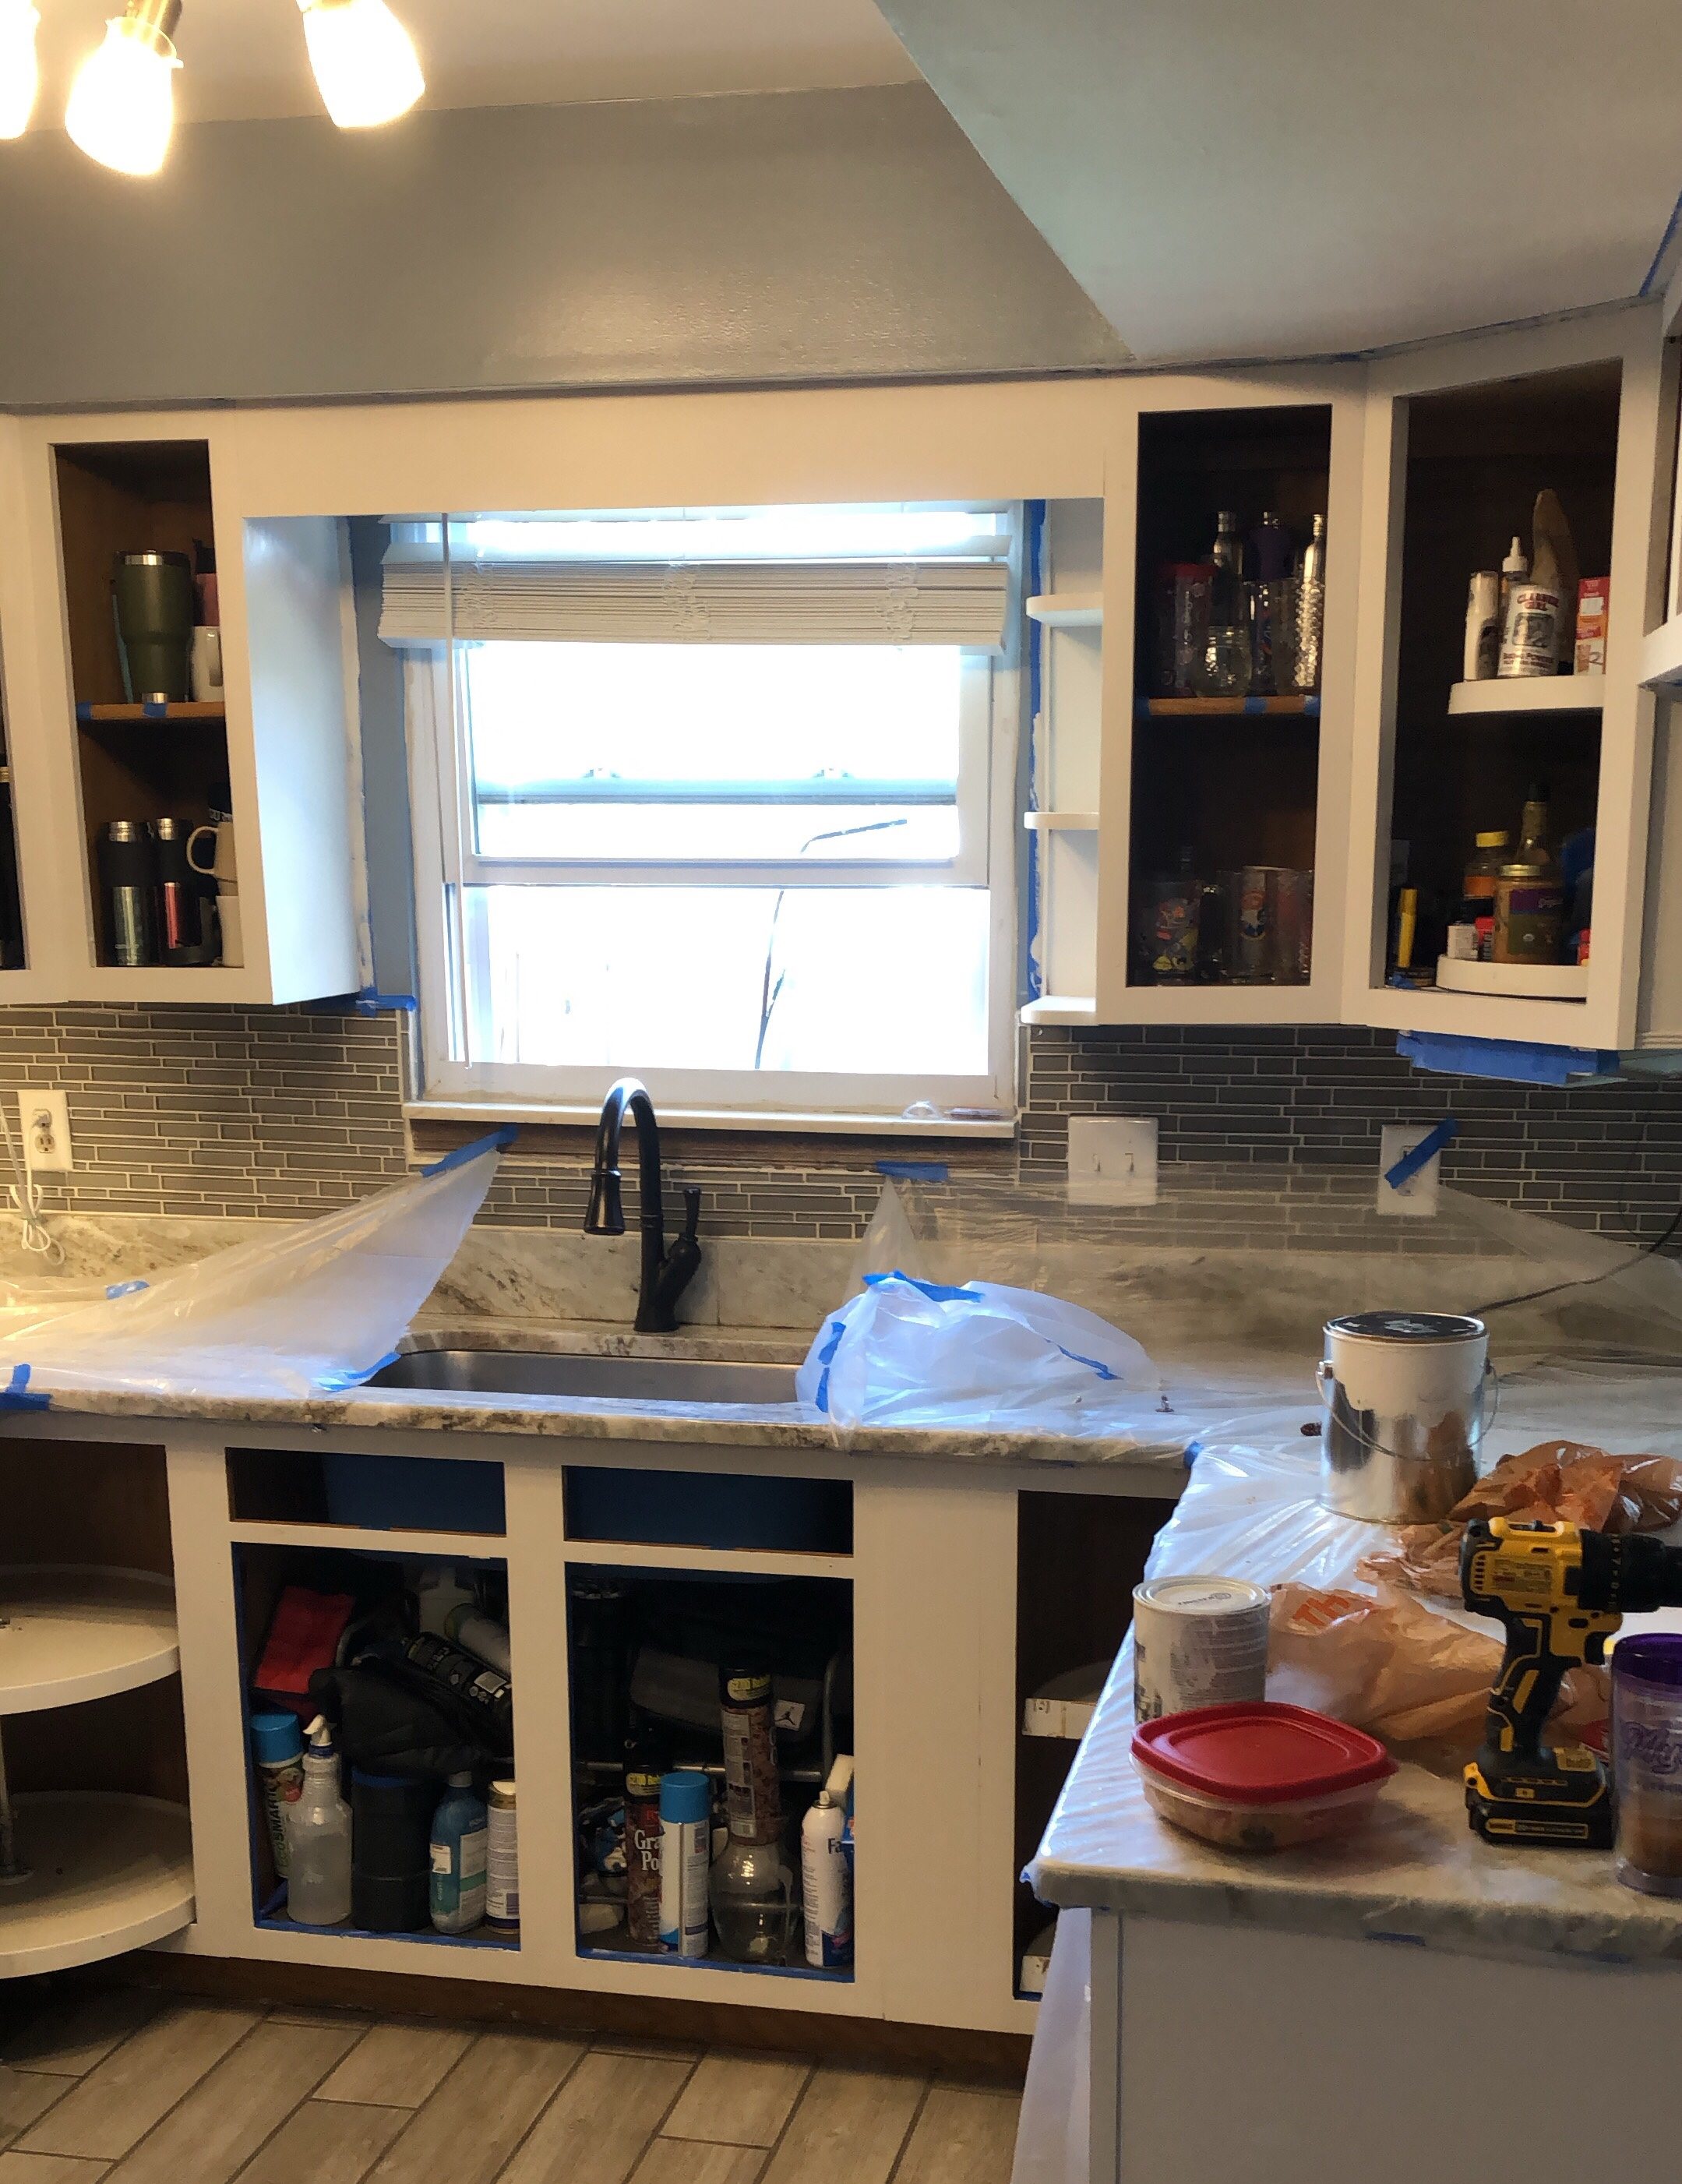
I am a very messy painter, so I took extra precautions and tapped off areas surrounding the cabinets (ie. Walls, floors and appliances). This, was time consuming and took about an hour or two, however, it may not be completely necessary for you if you are a neat painter. I also covered counter tops with painters plastic. Drips are almost inevitable.
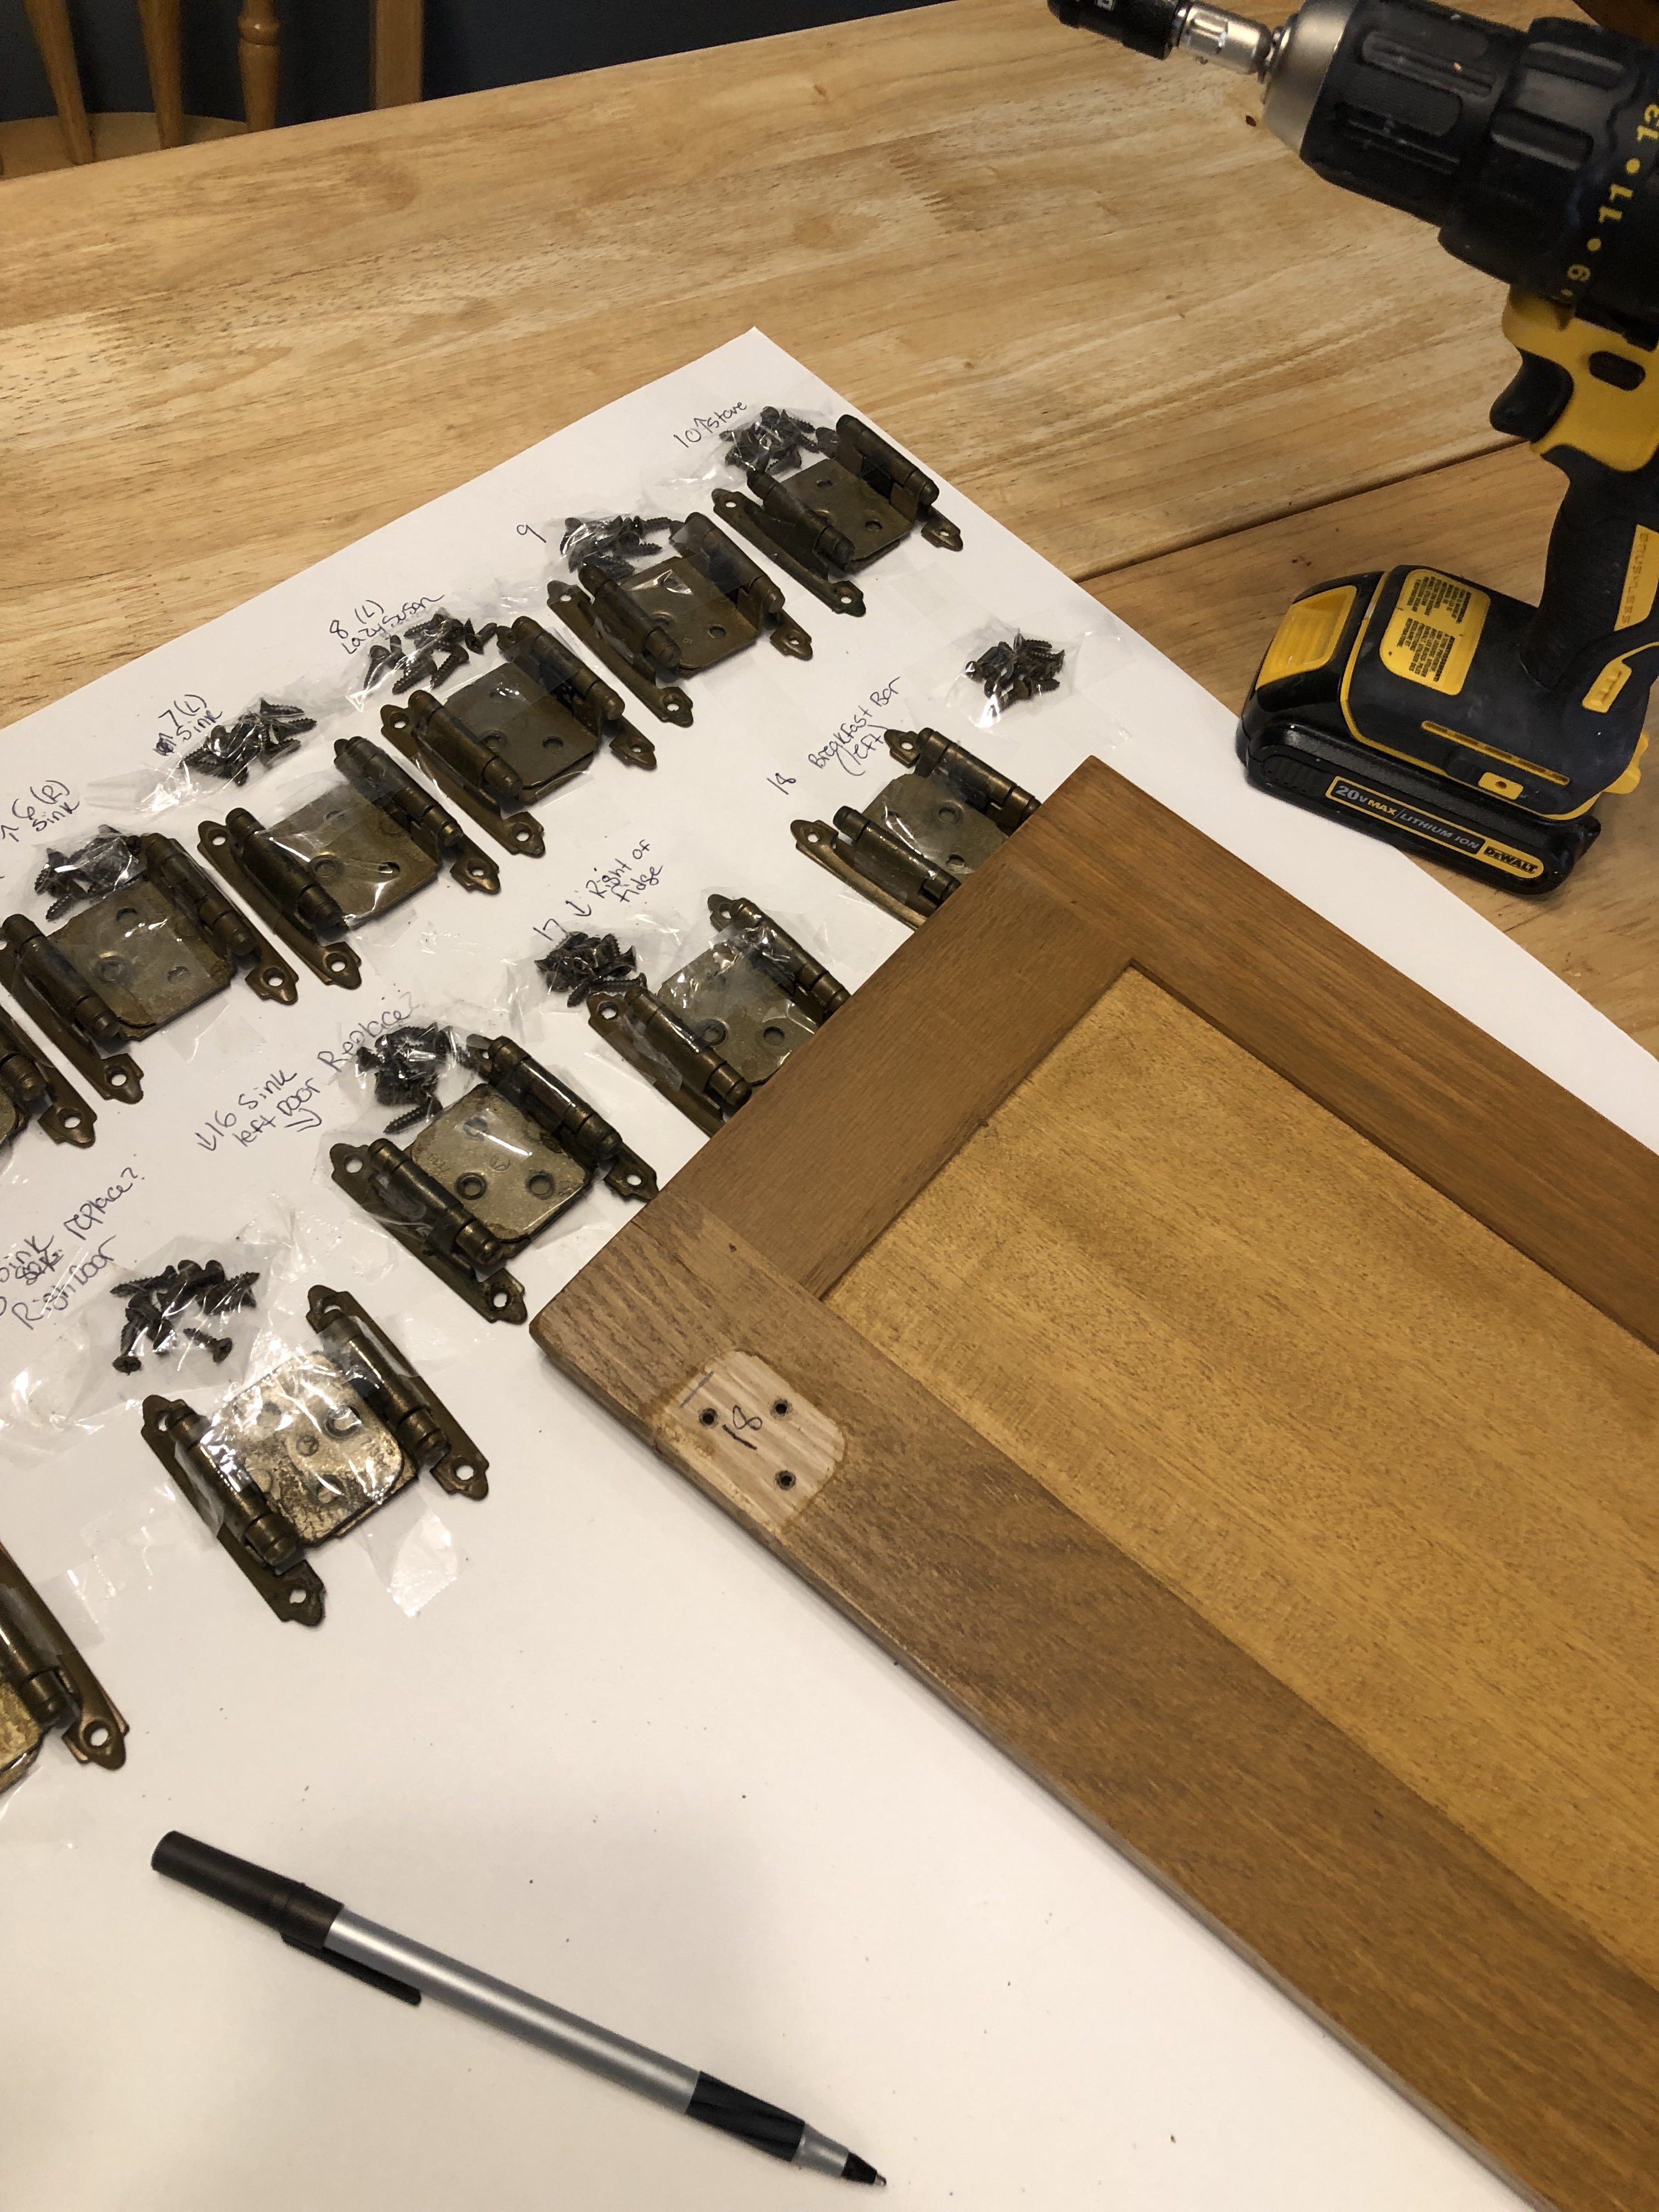
Next, I removed the door fronts to the cabinets. Too keep organized, I made a chart for the hardware and doors, this allowed me to be able to locate and place all pieces back to their original spot.

I attached the hinges and screws to a poster board with a number and also numbered its respective door, to protect the number from paint, I put painters tape over the number to protect.
During this process I noticed small screws went into the door and larger screws attached the door to the cabinet. I noted things like this on my poster board. Looking back, taping screws to the board was a waste of time, it is ok to throw them in a ziplock bag or somewhere safe. I kept my hinges in order, I’m not sure if it was 100% necessary because I believe all the hinges were the same but I would still keep them in order because it’s better safe than sorry!
After about 4 hours of prep and organizing, I was ready to finally get painting!
First up, I used Bullseye 1-2-3 Primer. It was my first time using this primer and I was a bit nervous because in the past I have had problems with other primers, it would adhere to my piece successfully but the paint would scratch right off of the primer. I also HATE cleaning up after using a typical oil based primer, but this was water based and cleaned up with ease! I was very happy with this primer because it bonded well to my cabinets and the paint bonded to the primer successfully!
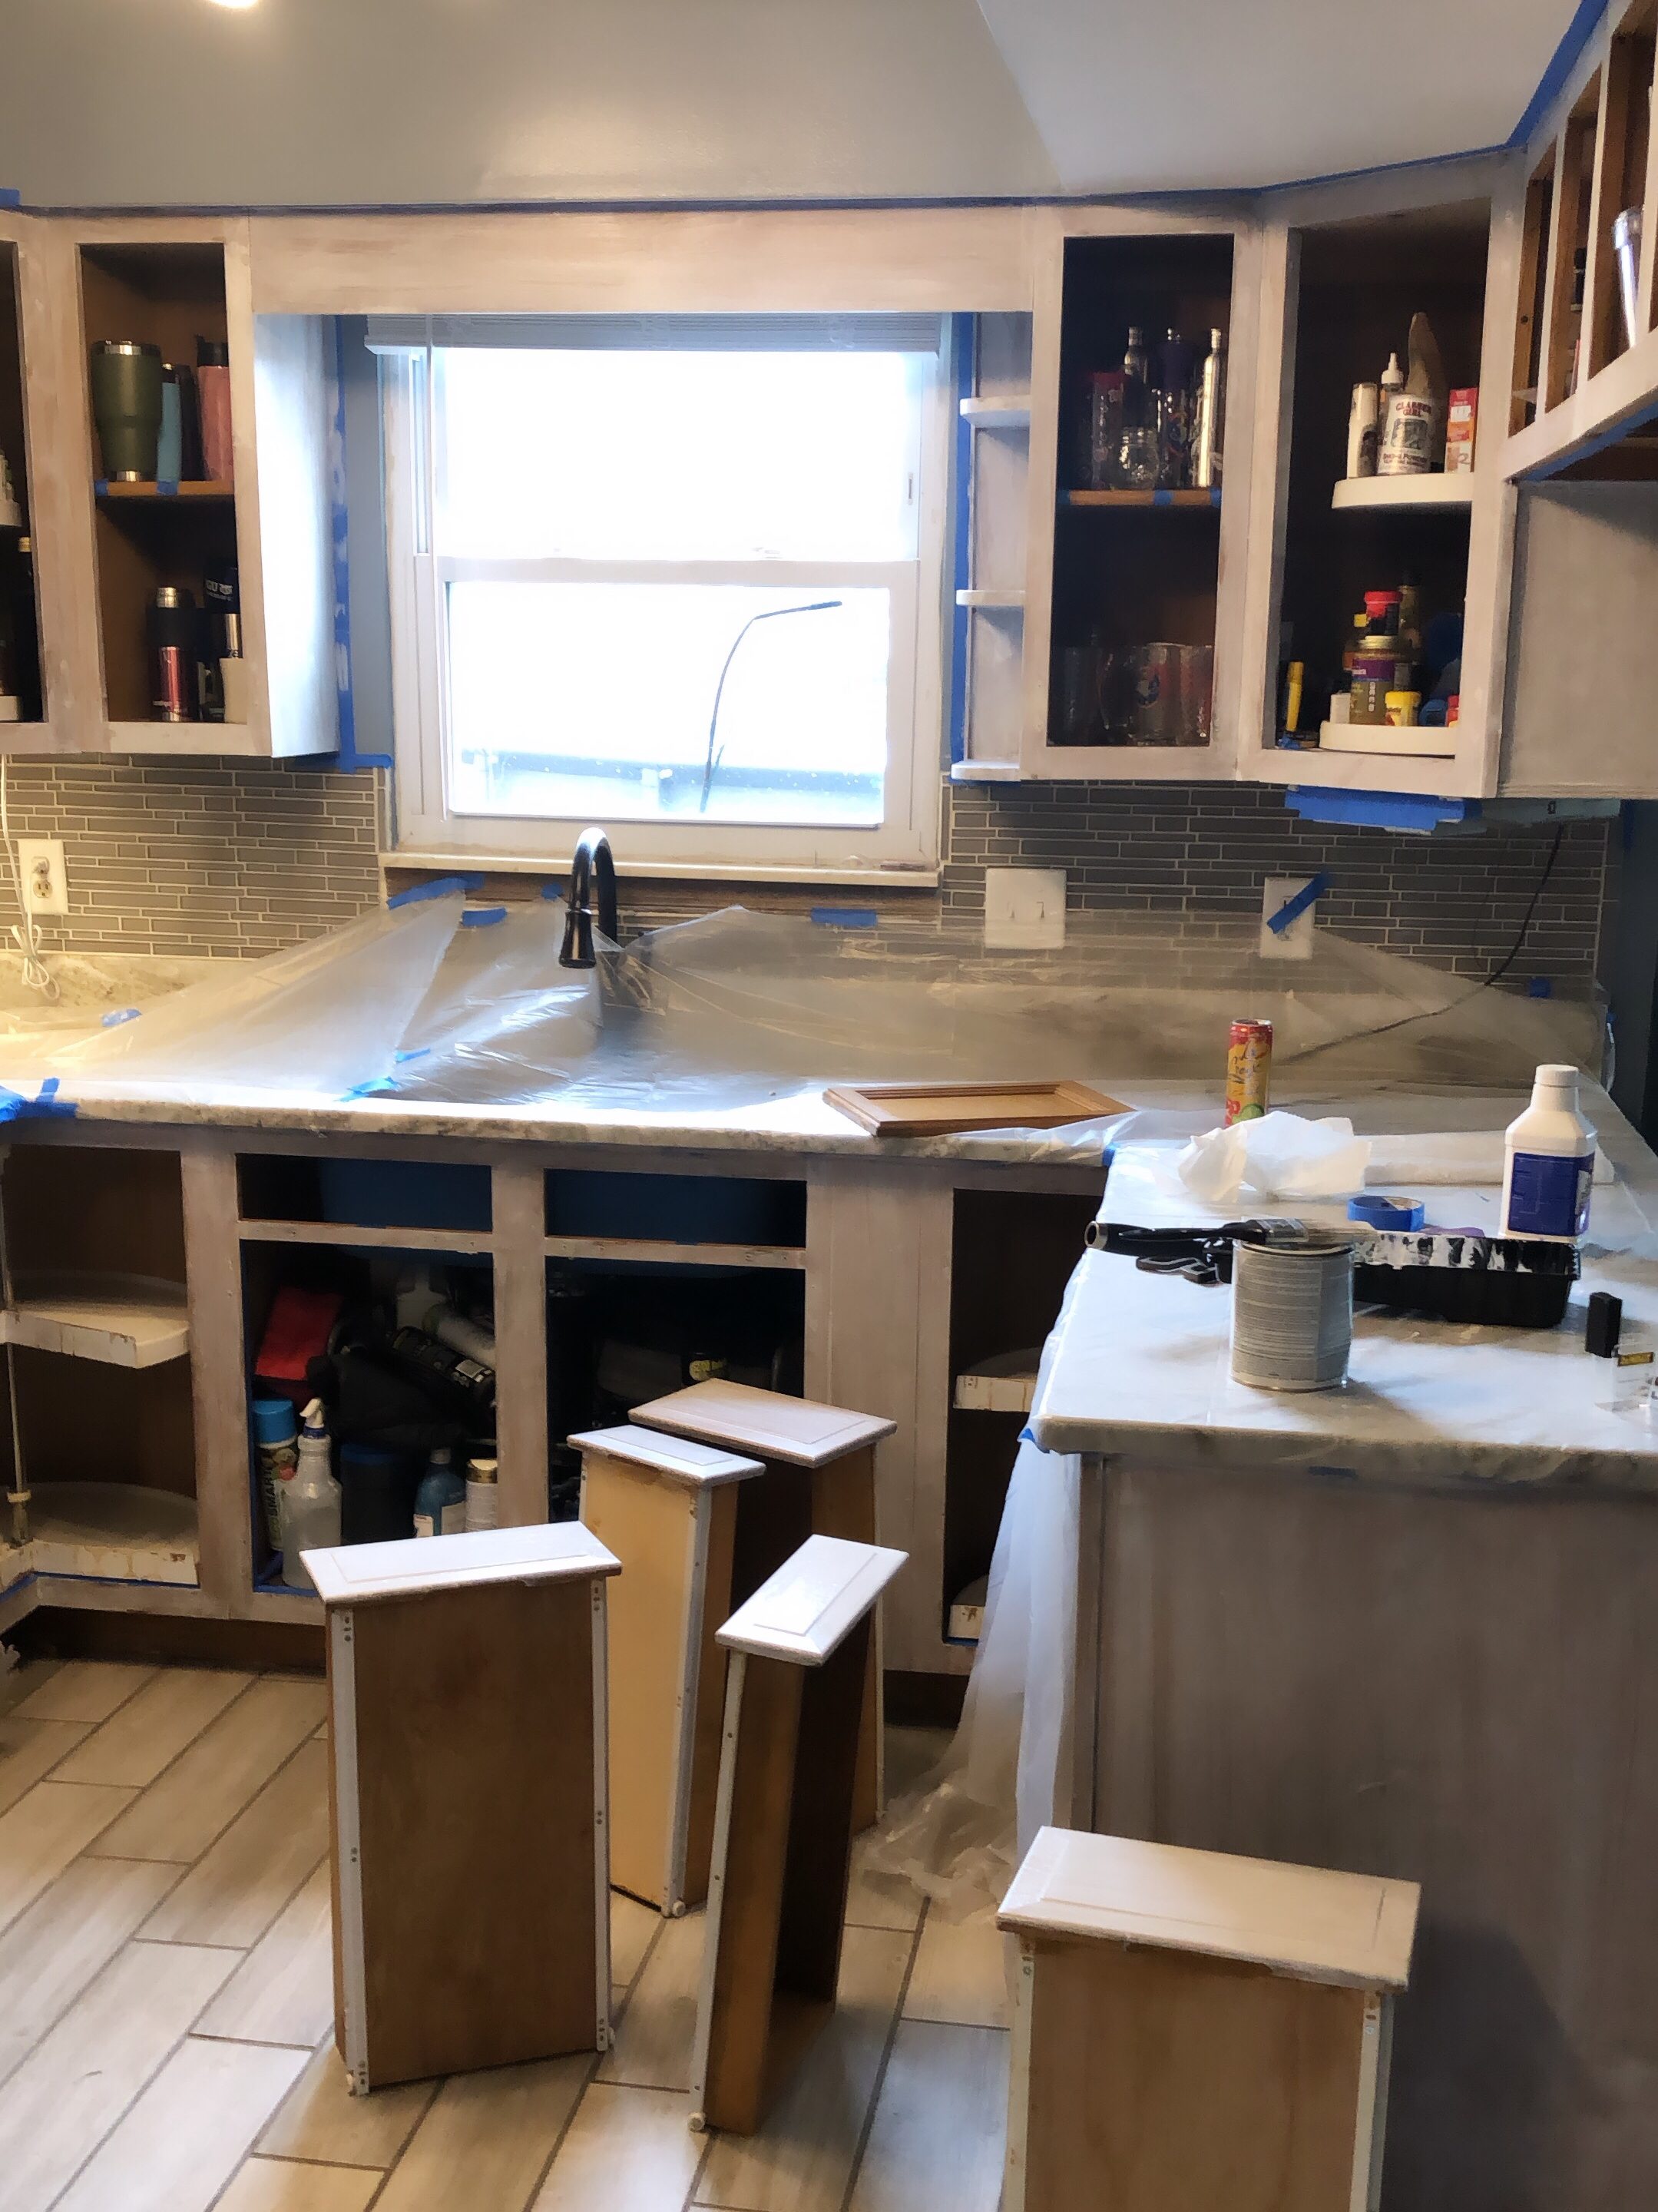
When applying the primer, I used a brush for smaller areas and corners and a roller for the large areas (note: immediately after rolling I would go back and smoothed the paint with my brush to insure an even finish, some rollers roll better and give a smooth finish, this roller was not one of them).
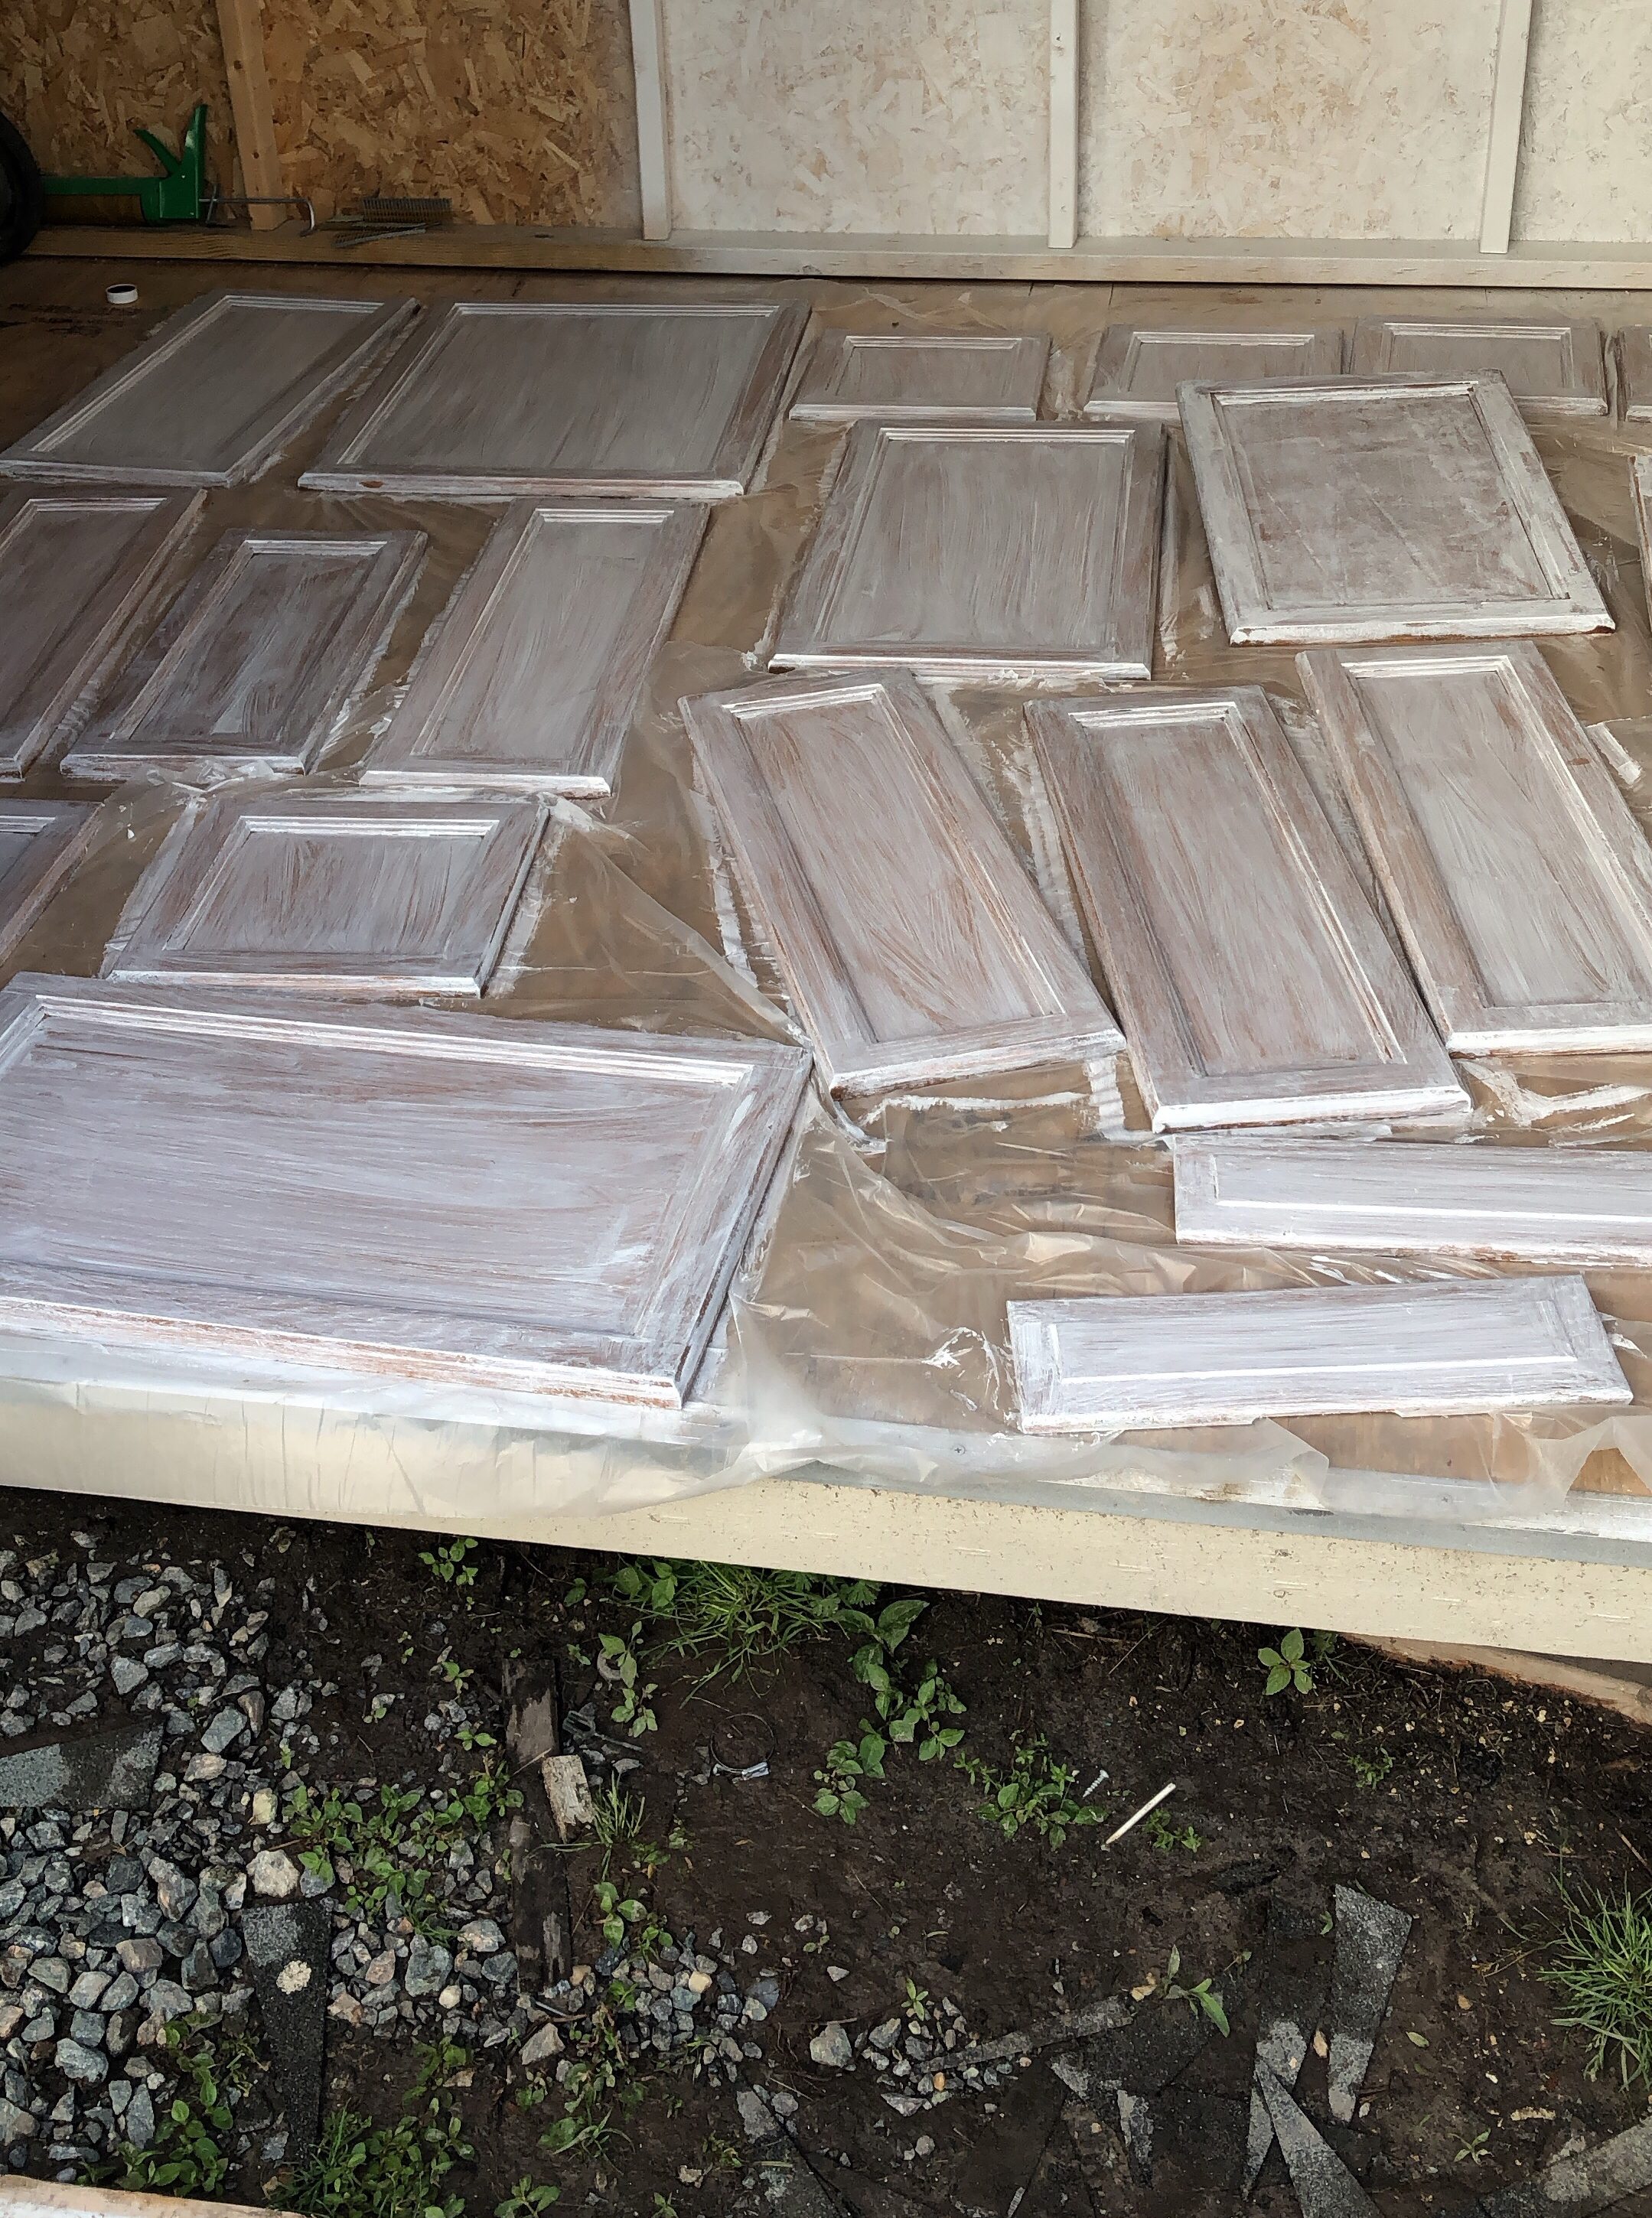
Once done with the body of the cabinets I applied a coat of primer to the backs of the doors. I laid these on a sheet of painters plastic in a shed. I recommend placing them on something like this, or on top of saw horses supporting two pieces of wood. Once dry, I flipped them over and applied a coat to the fronts and let the primer dry overnight.
For the color we went with Dixie Belle paint in the color “Fluff”. This shade of white was perfect because it has gray undertones which goes perfectly with the tile but is still bright enough to provide a nice contrast.
I applied one coat to the body, then went out to spray the backs of the doors. This allowed the body of the cabinets to dry and by the time I came back to them, I was able to apply the second coat to the body and then a second to the doors backs, then repeated for the fronts. I allowed this to dry overnight to insure a good bond.
For the cabinets I sprayed the doors using this sprayer. This not only cut down on paint time, but also gave a super beautiful smooth finish!
After spending hours of work getting to this point it is SO important to protect your investment. For the top coat I used varathane ultimate polyurethane – crystal clear in satin. I was super nervous because I haven’t come across a truly clear top coat that was easy to apply. I really love Rust-Oleum products so this time I decided to try a top coat made by them. This polyurethane is water based which makes it super easy to clean up as well as apply evenly. I applied two coats to insure all areas were covered thoroughly. To do this I used the same technique, rolling on larger surfaces, then lightly brushing over immediately after to insure it was smooth.
For the doors, there are a few options.
1) Continue to spray them
2) Reattach door after the bodies dry and paint by hand (just leave the doors open when drying).
3) Paint by hand, let dry then reattach.
All options would work well, it’s just a matter of preference!
While the top coat cured overnight, I cleaned the hardware and updated the color. This is a small detail but definitely dresses the cabinets. I cleaned the hardware with bar keepers friend to get the old build up off. This allows the spray paint to adhere well. I used Rust-oleum Spray paint in the shade Flat Burnished Amber. This most closely matched the existing kitchen faucet that was an oil rubbed bronze as well as the new hardware that will be installed at a later time.
 I like to apply paint to the backs first, let dry, apply second coat, dry fully for at least a couple hours, then apply to the fronts. I let these dry overnight before installing.
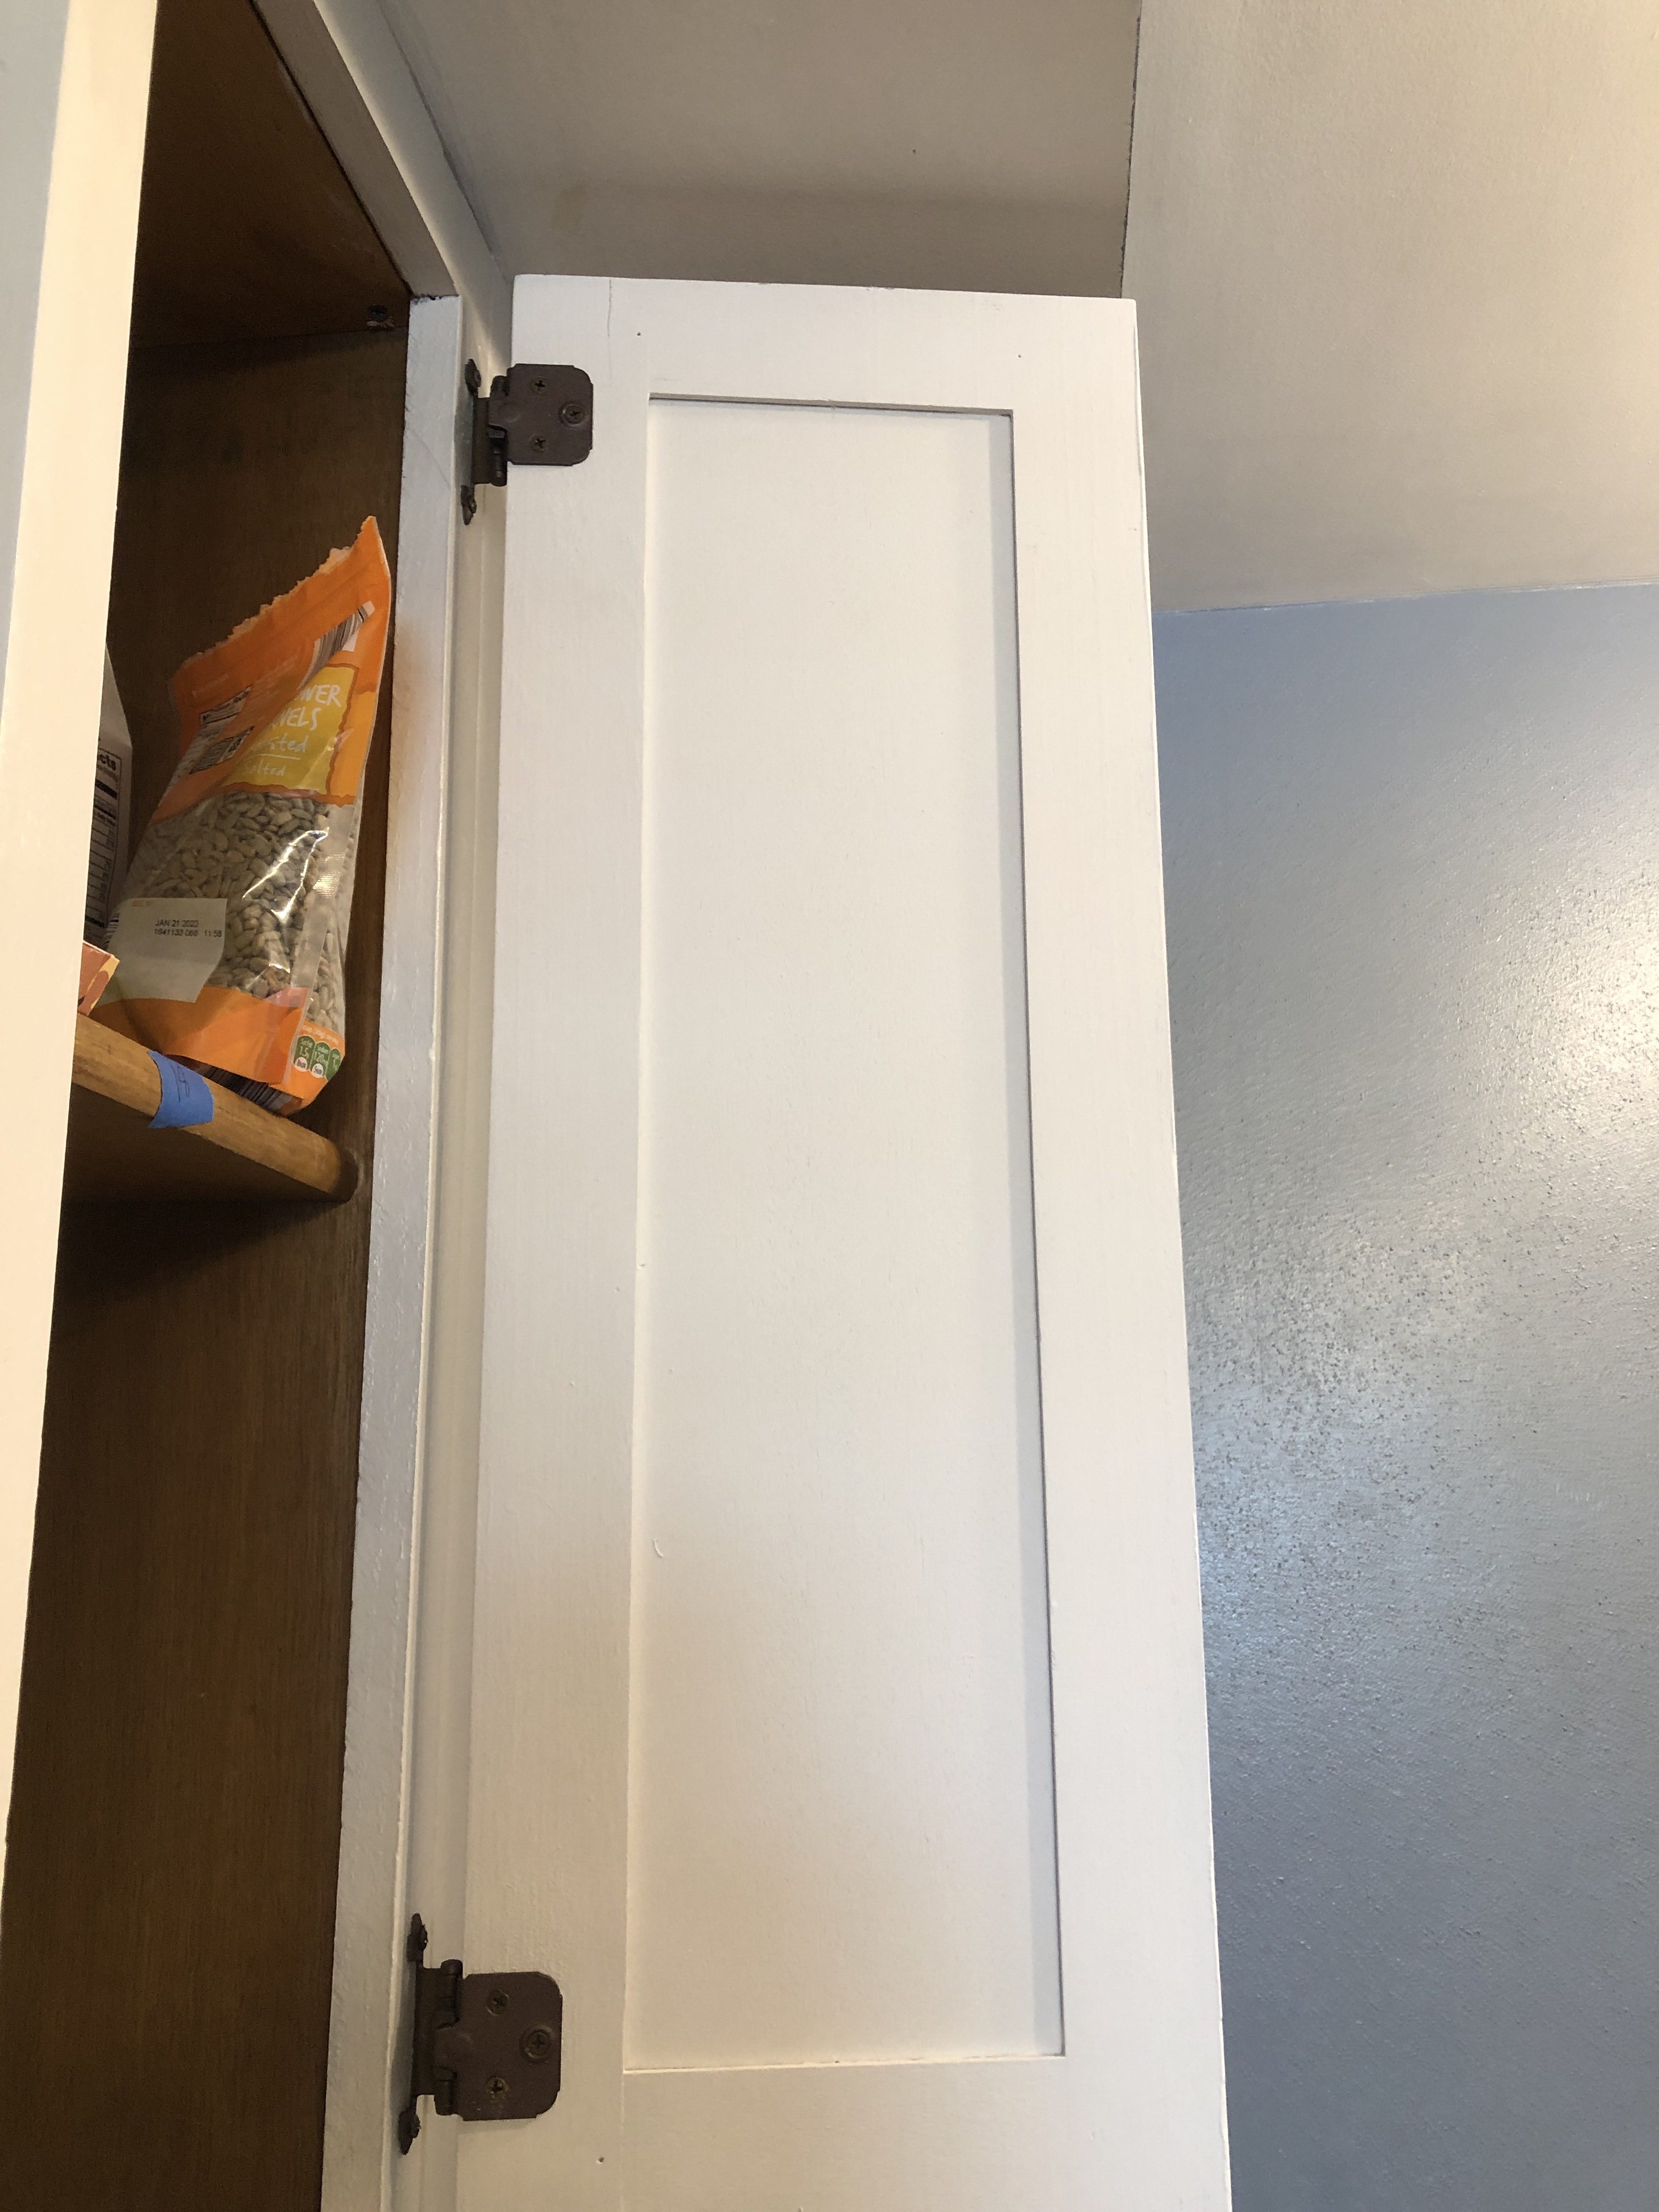
Once the the top coat has had a chance to harden overnight, I attached the doors to the cabinet bodies. Letting the paint harden overnight helps prevent dings in your paint. The paint will need 30 days to fully cure so remember to handle with care!
Now for the big reveal!
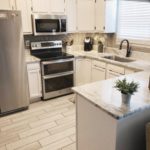
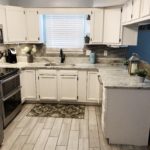
(The bottoms of the cabinets will have trim added later)
Next, up we’ll add hardware pulls!
All together this project took 29 hours. It was definitely a big project but is a lot more cost friendly than installing all new cabinets. I would definitely recommend this to anyone as long as you prep correctly and have patience, your kitchen makeover will turn out beautiful as well!


2 Comments
Tina
Looks amazing! You did a wonderful job.
admin
Thank you so much Tina!!!